Acrylic Pour Art
Hey all, I decided to try something new that I’d seen a lot of videos for: Acrylic Pour Art. I started this process by looking up a written tutorial, and came across this one. I found it to be very clear and straightforward, and I took pictures as I followed!
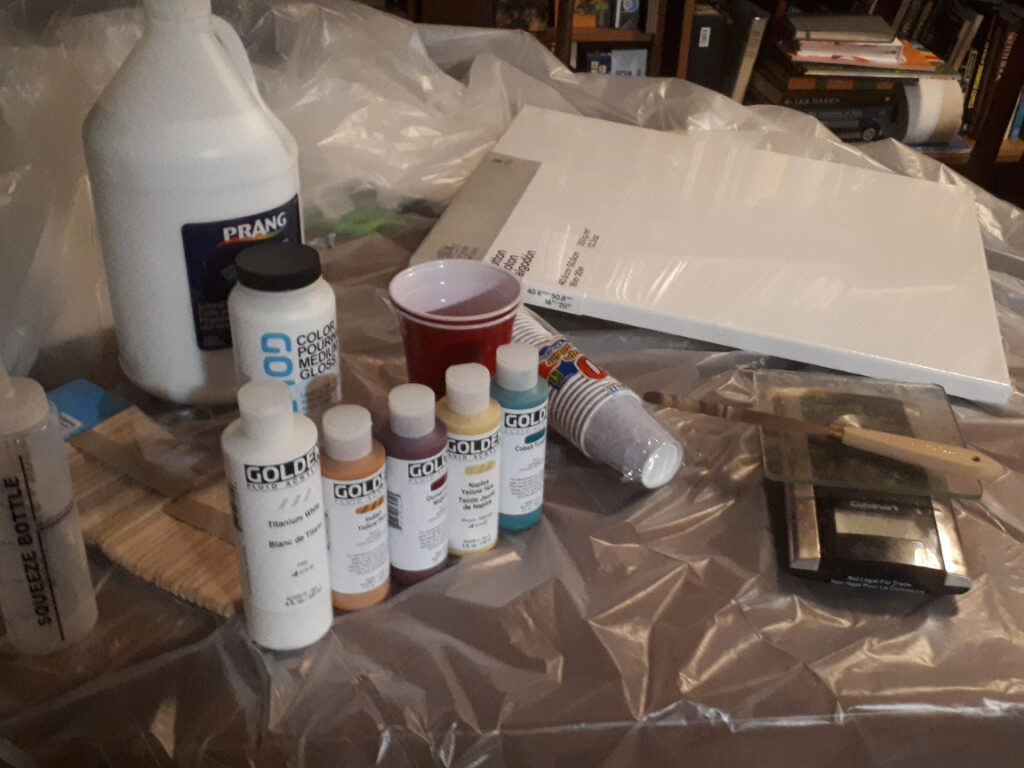
I got these supplies from my local art supply store & the dollar store. Included was a drop sheet, Popsicle sticks, plastic cups (in 2 sizes), a squirt bottle (from the dollar store), and a painting spatula, canvas, pouring medium, school glue, and paints (from the art supply store). Pictured is also our scale, but I found I didn’t need it (especially since different liquids would weigh different amounts.
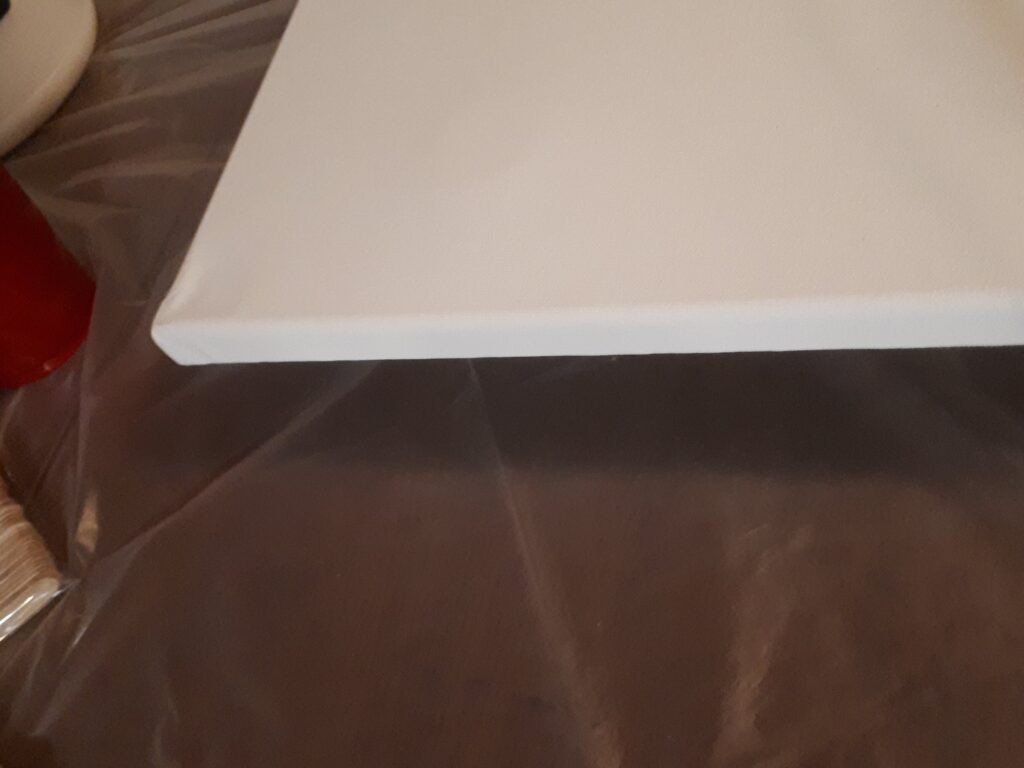
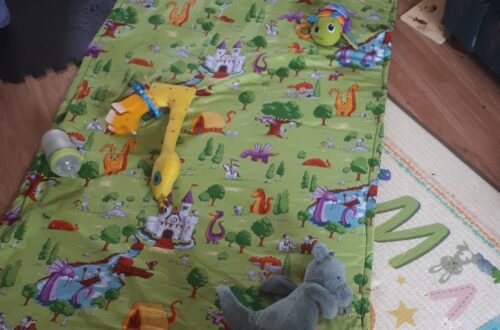
I placed the canvas on dixie cups so it won’t stick to the drop sheet when it dries, as suggested in the tutorial.
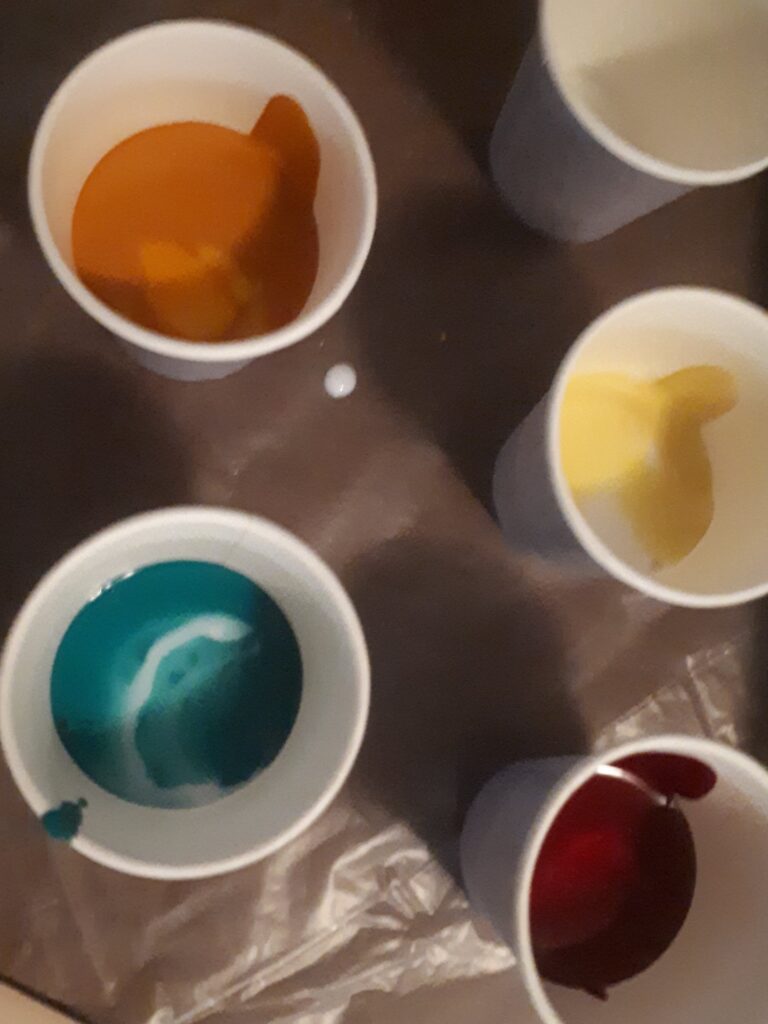
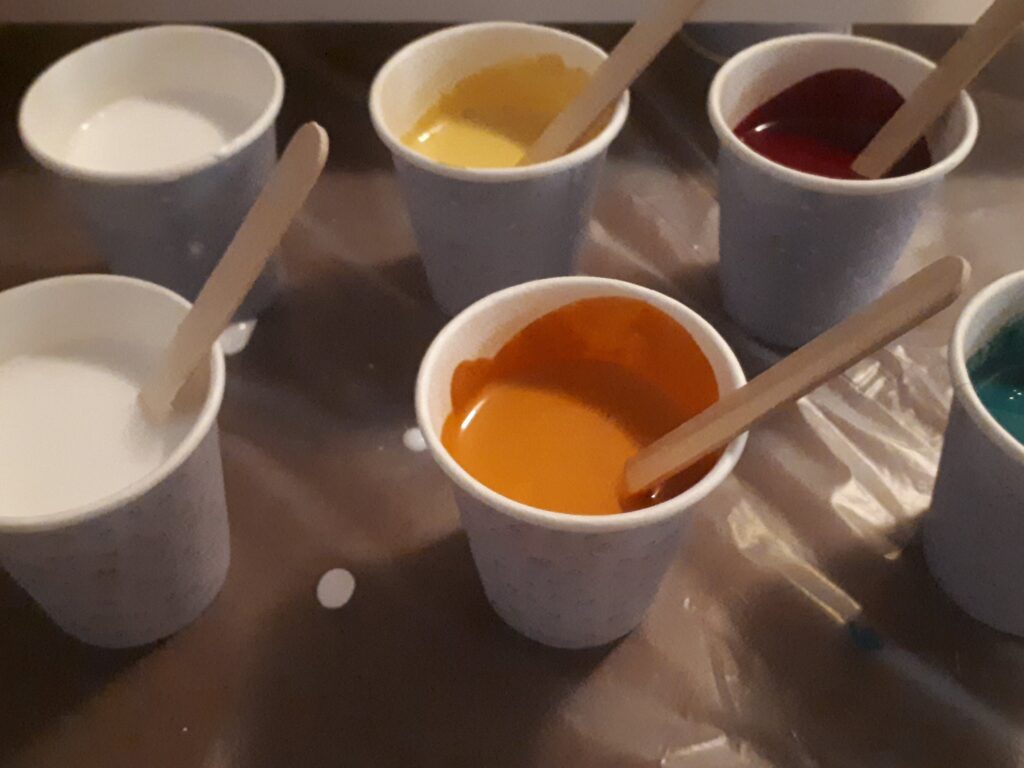
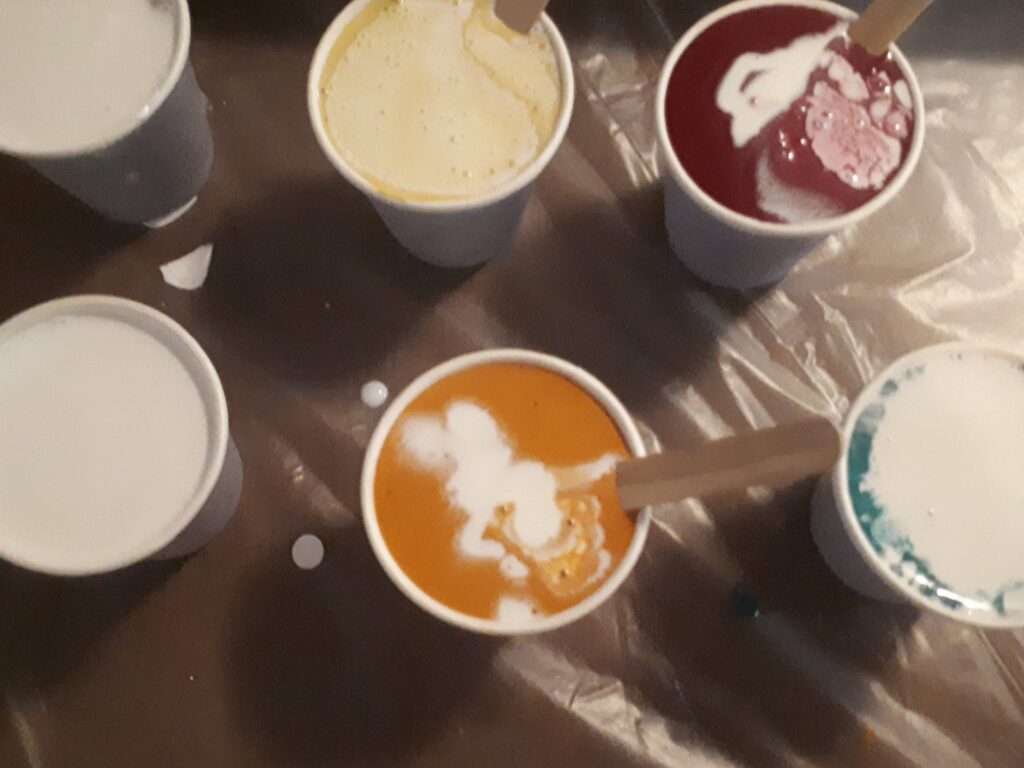
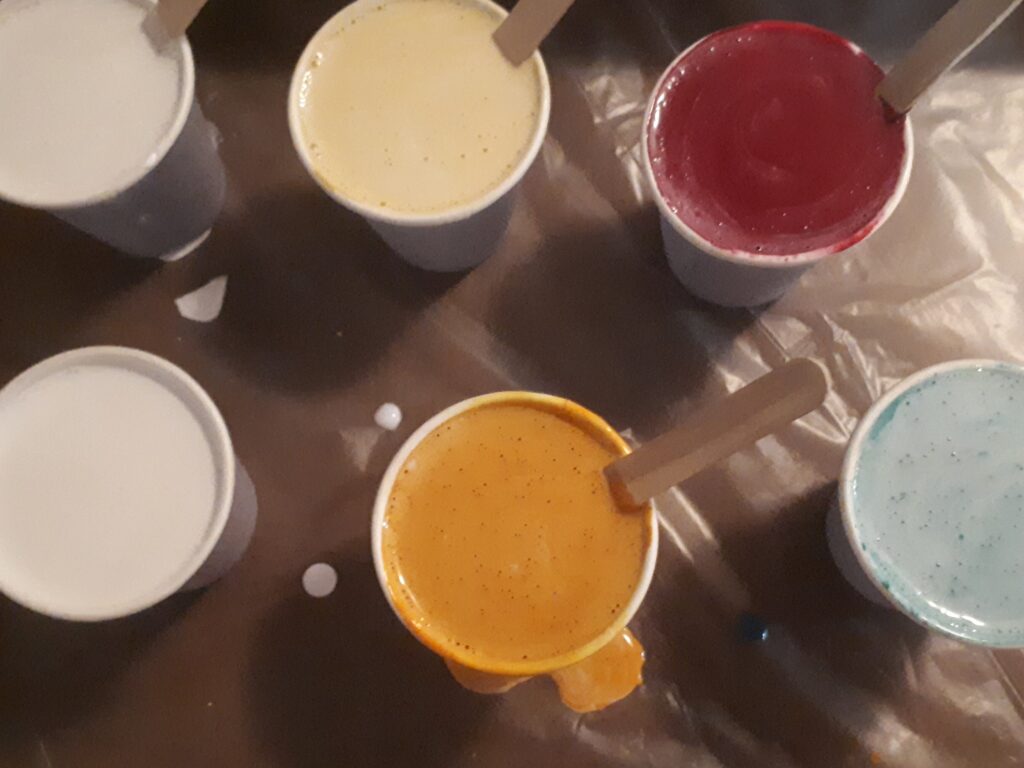
I started by pouring some water in a plastic cup, and I eye-balled about the same amount of glue to the same cup and mixed it. Then I took out tiny dixie cups and poured a bit of paint and way too much water-glue mixture to make the paints a proper melted ice cream texture. So I had to add more paint. I mixed, and filled the rest of the cup with medium (in the future, I would pour the water-glue mixture slower so there’s more space for medium – It scared me a bit reading the instructions on the medium container which indicated I wasn’t using nearly enough. But I wanted to teat the tutorial properly and it seems to have worked fine [it’s not fully dry yet]).
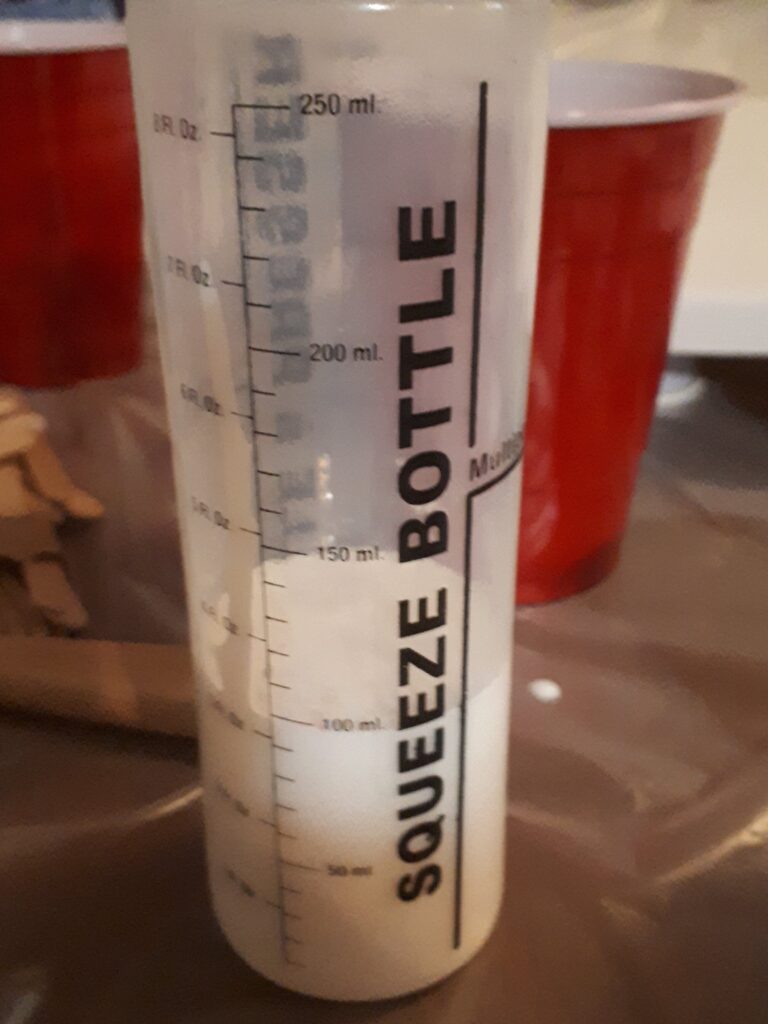
I next mixed a base coat, which was supposed to be more runny than the coloured paint. I mixed 500 ml of water-glue, white paint, and pouring medium each. Next I needed to prepare the canvas!
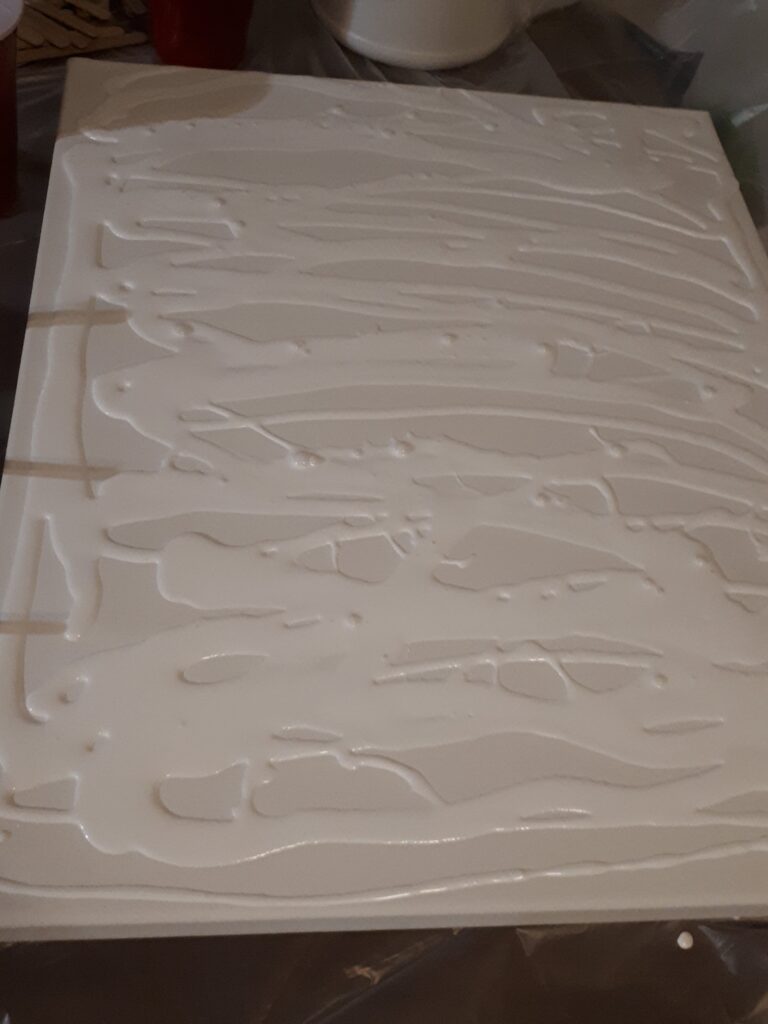
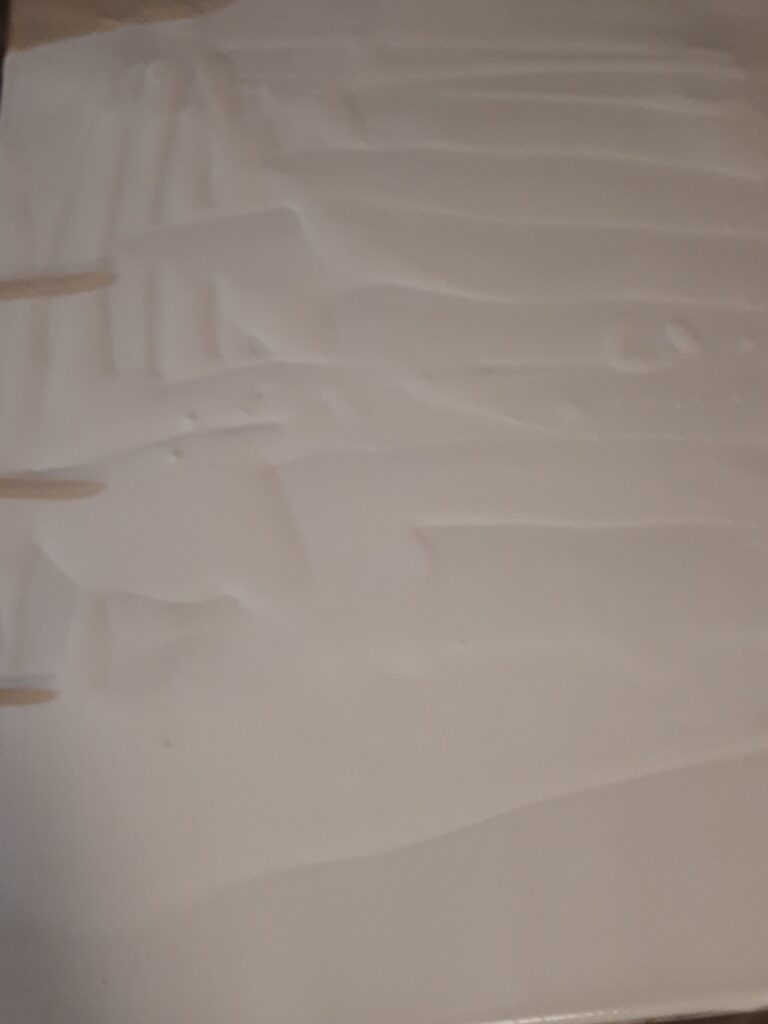
I poured a lot of base coat on the canvas, but it was about the right amount, and I used the pallet knife to smooth it over the whole thing.

Mistake #1 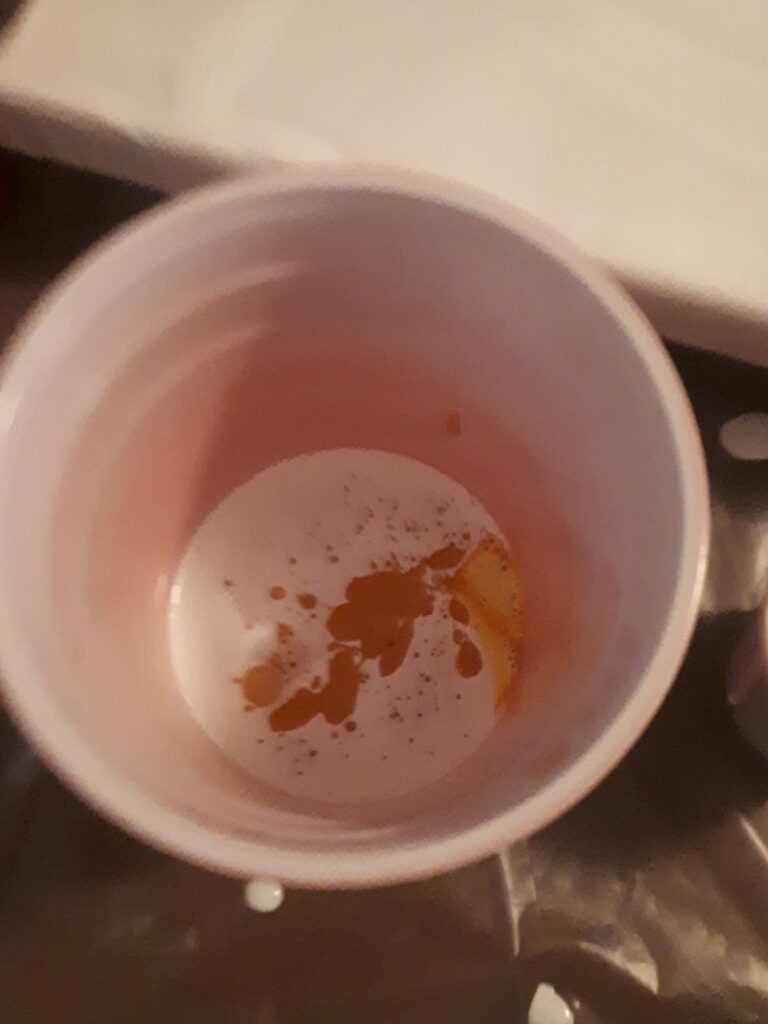


I made a mistake when pouring each colour into the solo cup for the canvas. I didn’t add enough white paint. Instead of doing white-colour-white-colour-white-colour-white-colour-white… I did white-colour-colour-colour-white-colour-white (you can tell when I realized my mistake). I was quite concerned this would completely ruin the final product. But I figured, first time is never going to be without mistakes.
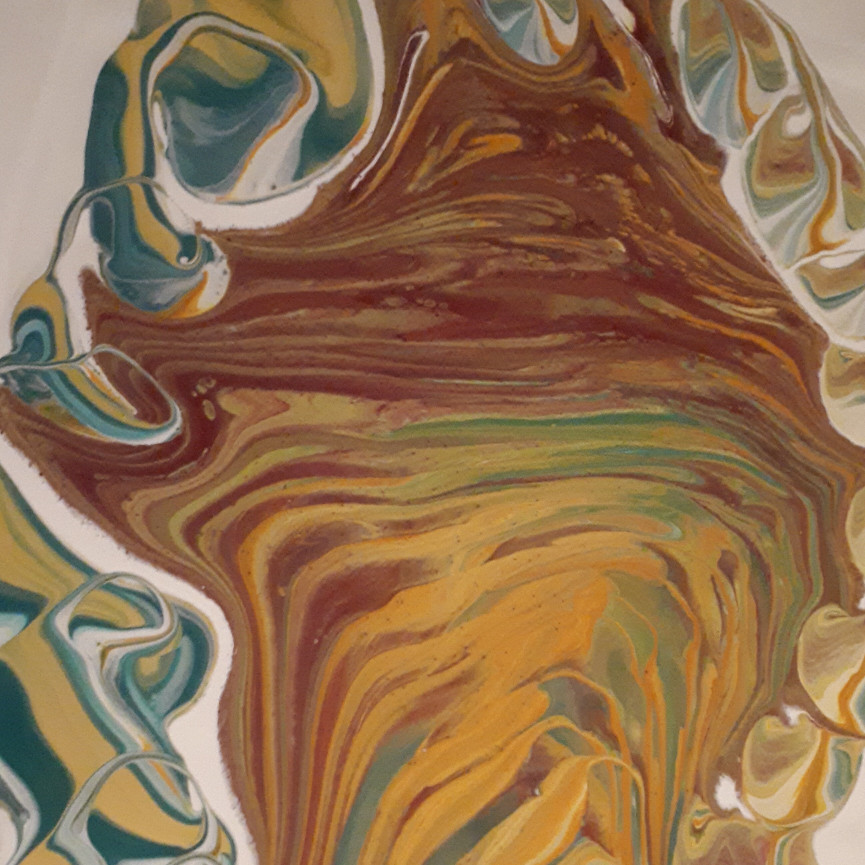
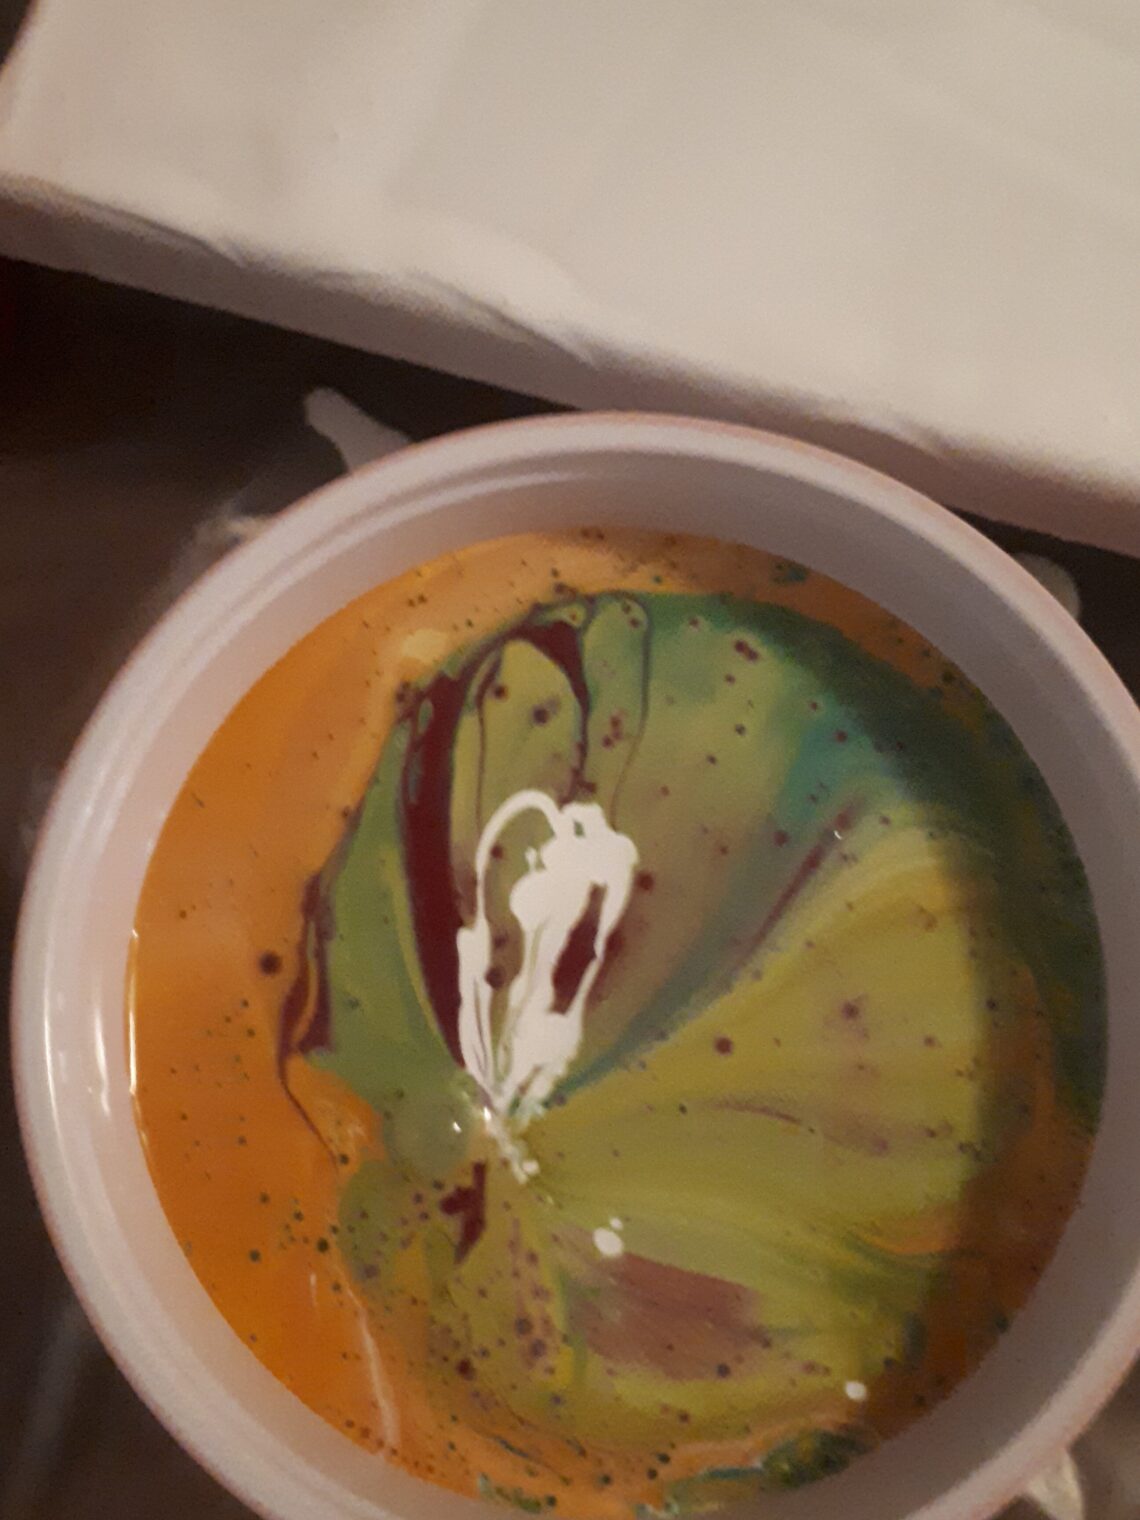
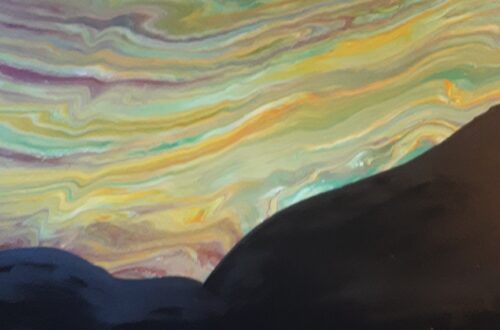
I started pouring. I tried very hard to pour down a line with tight circles, but the circles weren’t so tight, and when I got to the bottom, I didn’t want to “waste” my leftover paint (mistake #2!!) and so I circled the line with another line of little circles. It was a mess, but I used all the paint! Now was the time for the final step…. tilting the canvas… well, time to see the final (undried) result, I guess.
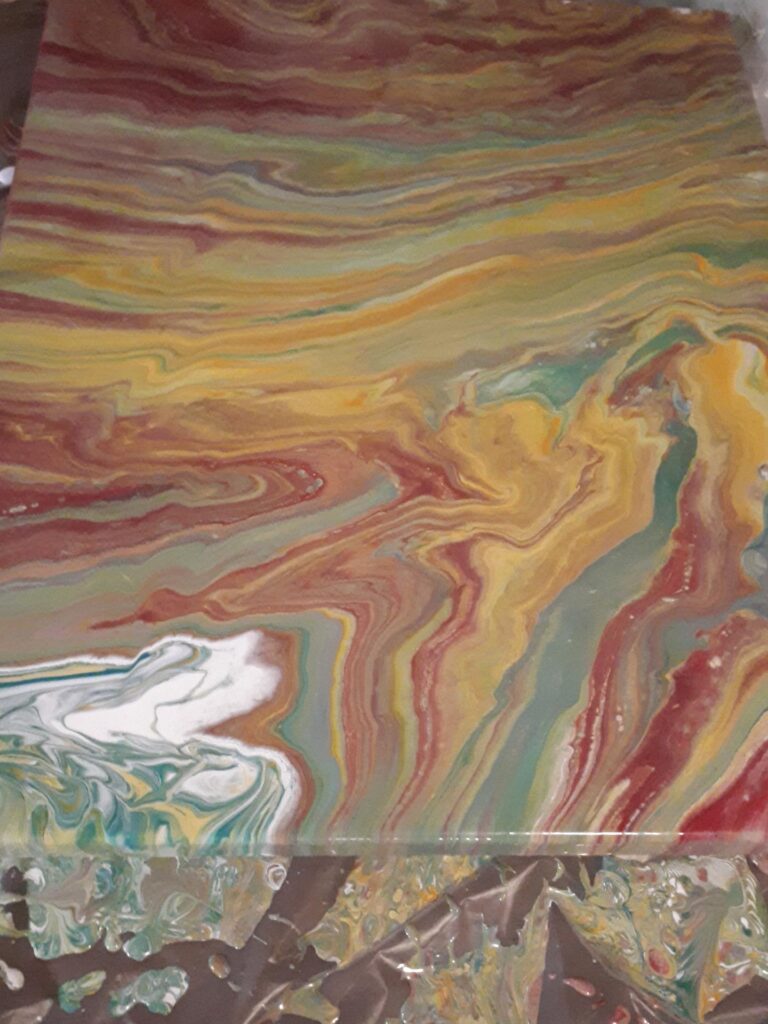
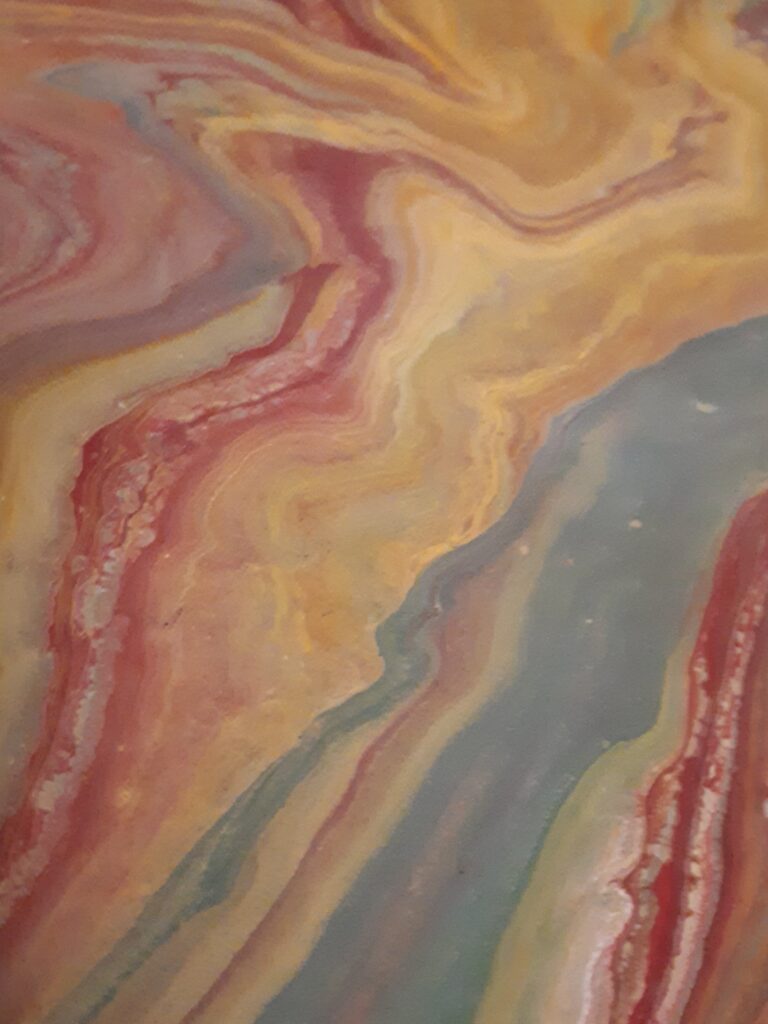
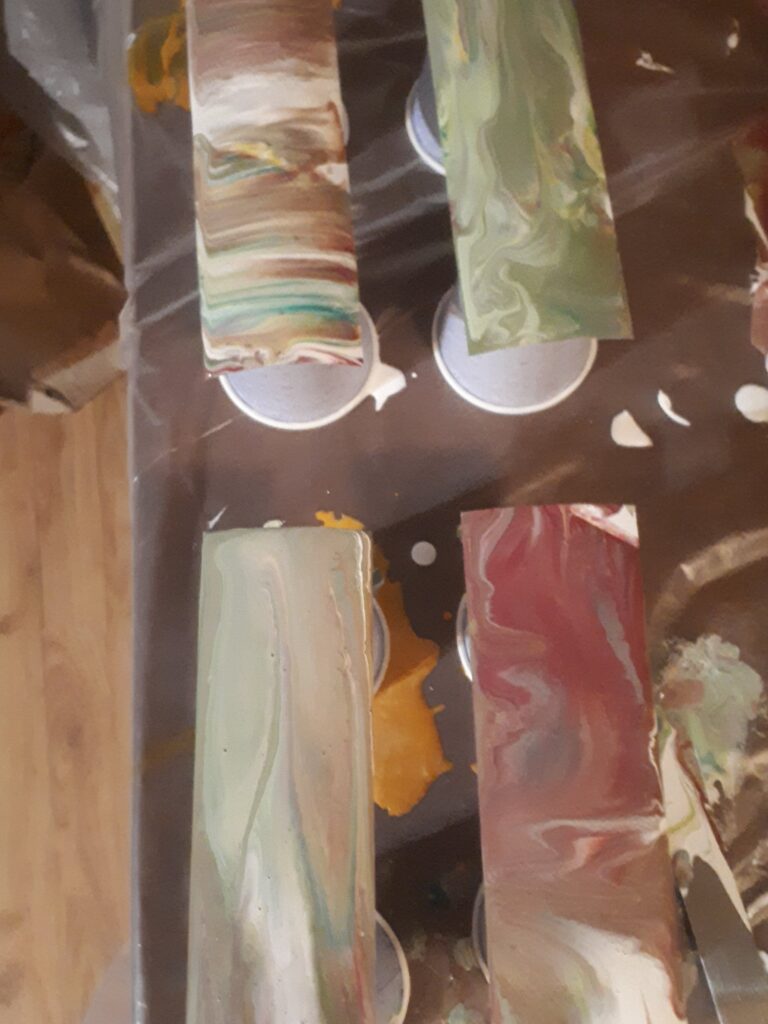
I literally couldn’t be happier with the results!! I was so excited that I even grabbed some plain white bookmarks that I leave around for making christmas bookmarks and dipped them in the swirls that slided off the canvas…
Finally, the art project is complete…… ….. or is it? Dun dun dun, To. Be. Continued…


One Comment
Ruth Francey
Pretty first attempt. It sounds much more complex than i had thought! Love the colours you chose.