
The playmat
Recently I began an online search for fun play mats for children. What I discovered was that finding any reasonably sized playmat was difficult, but even more unreasonable was the price (for my budget, at least). These play mats were amazing and I know the creators deserved what they were asking but I just couldn’t contend with that pricetag.
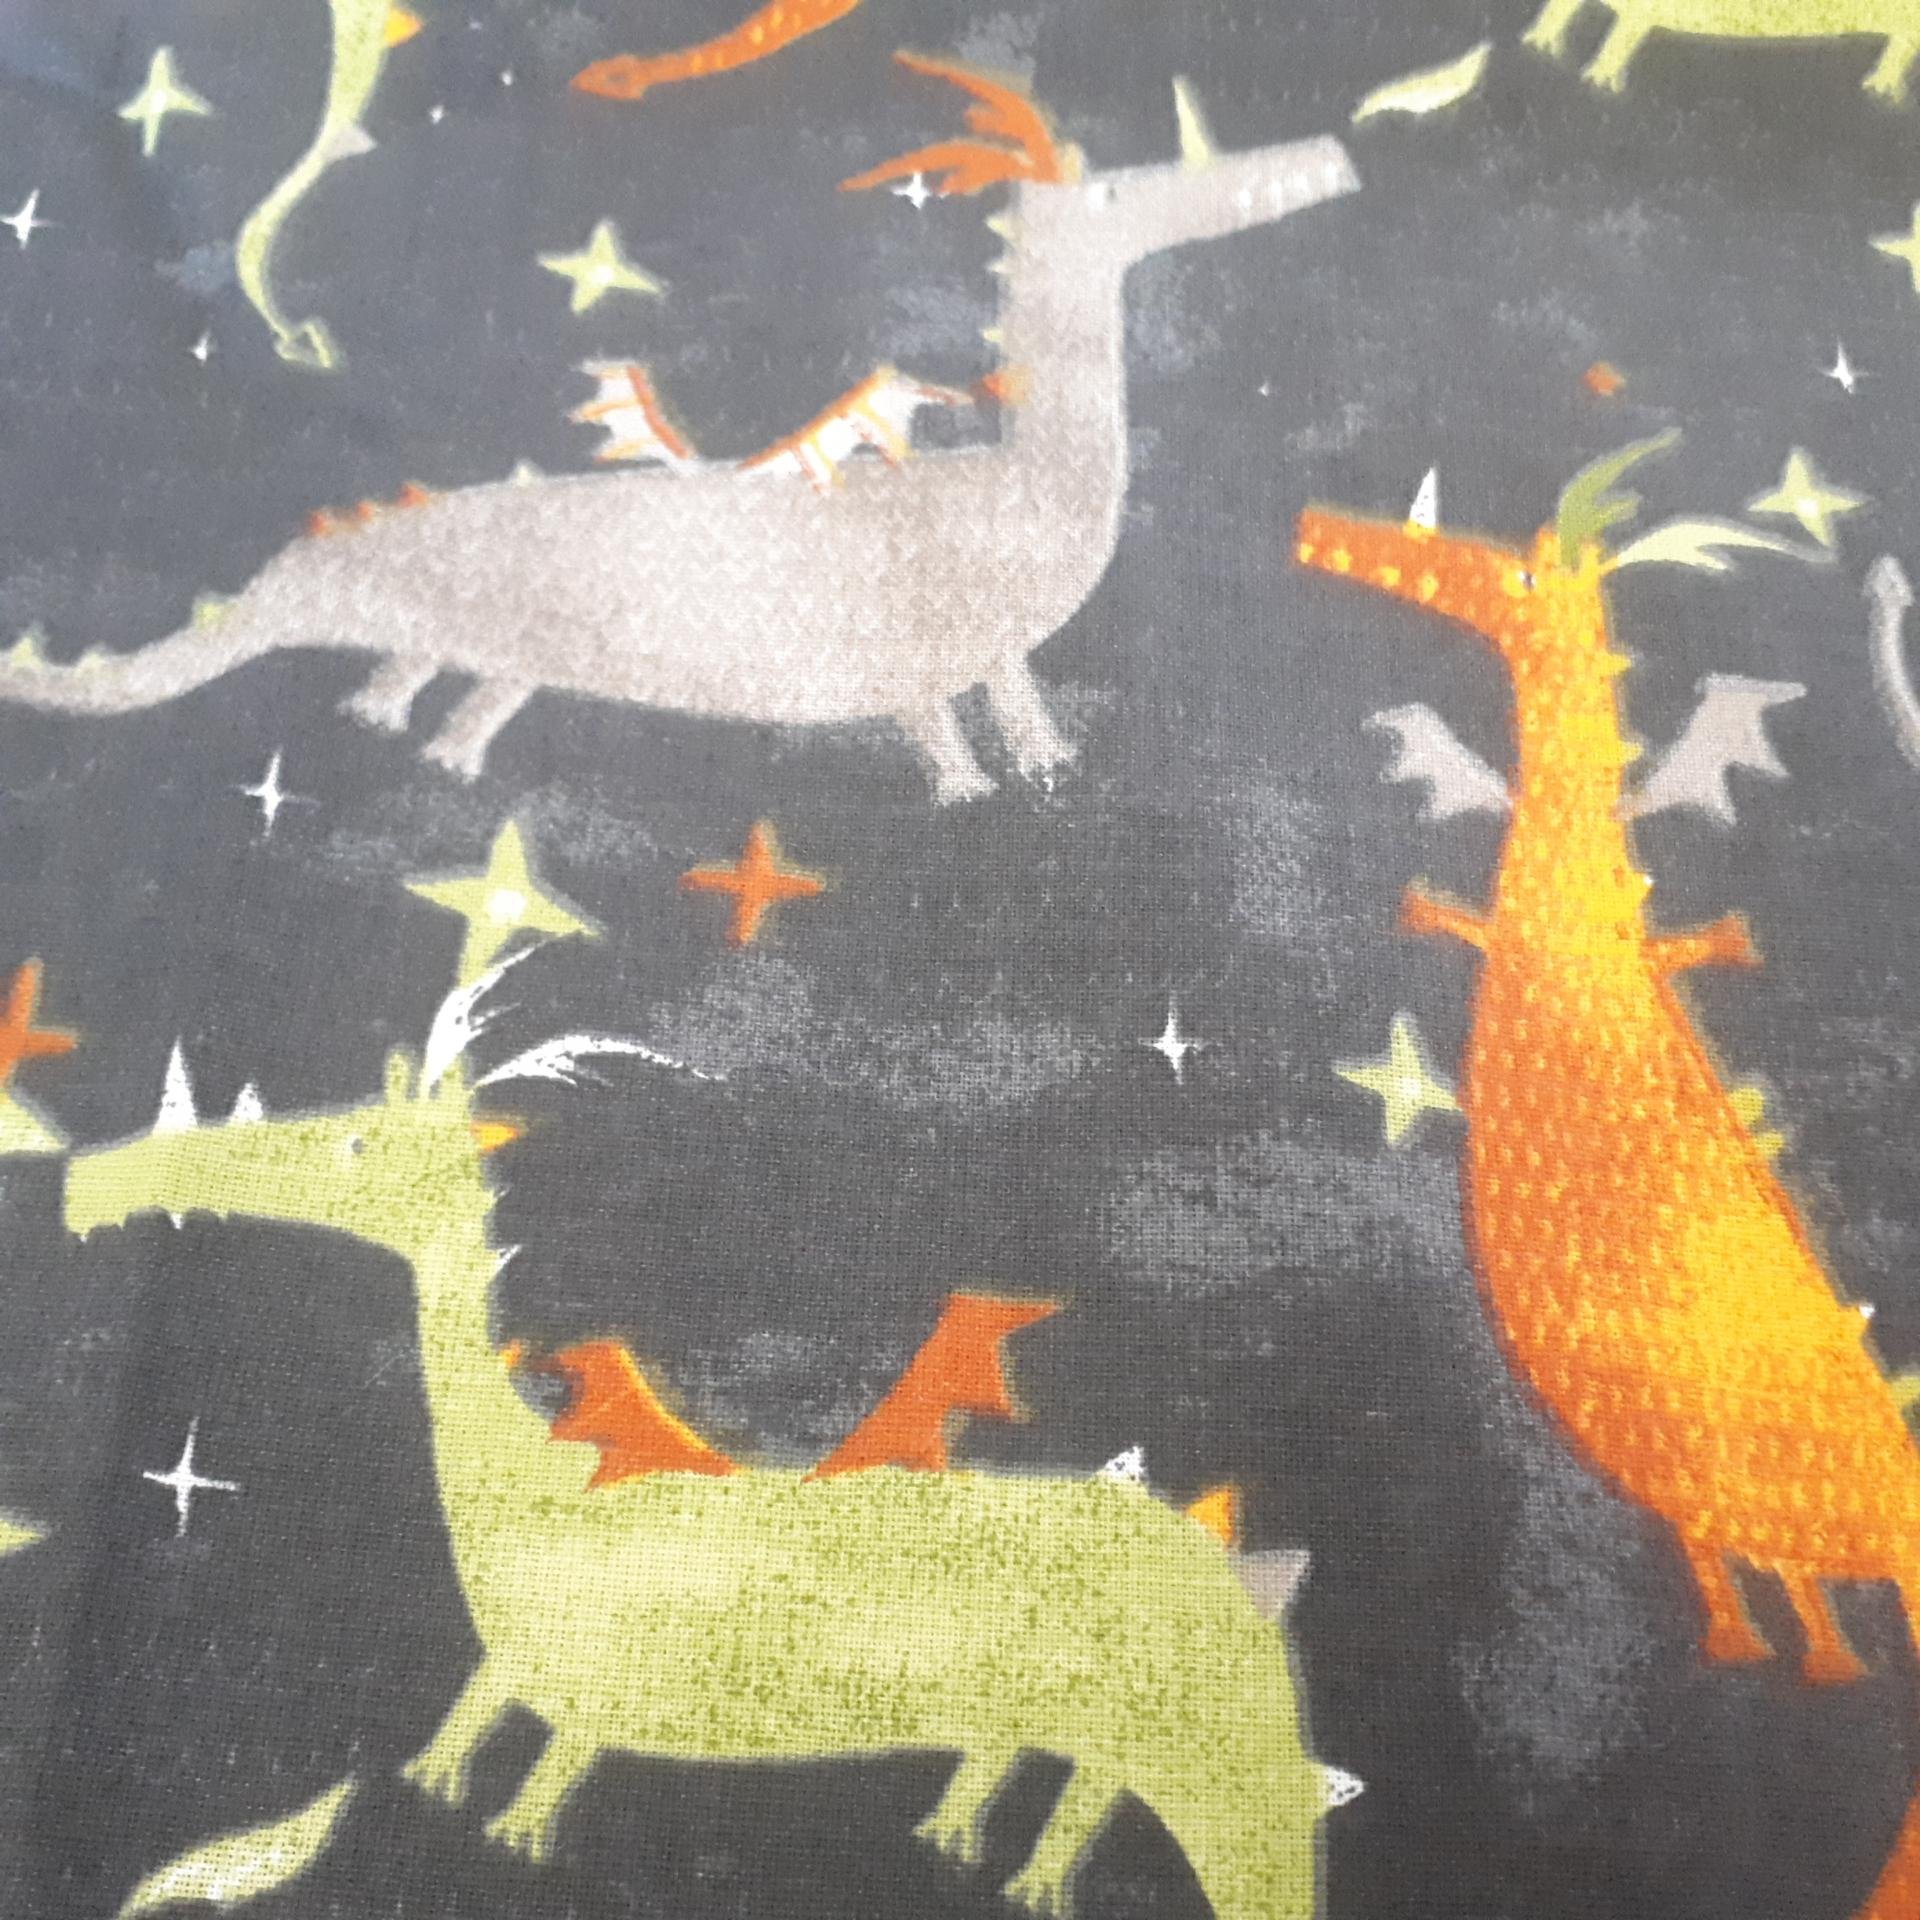
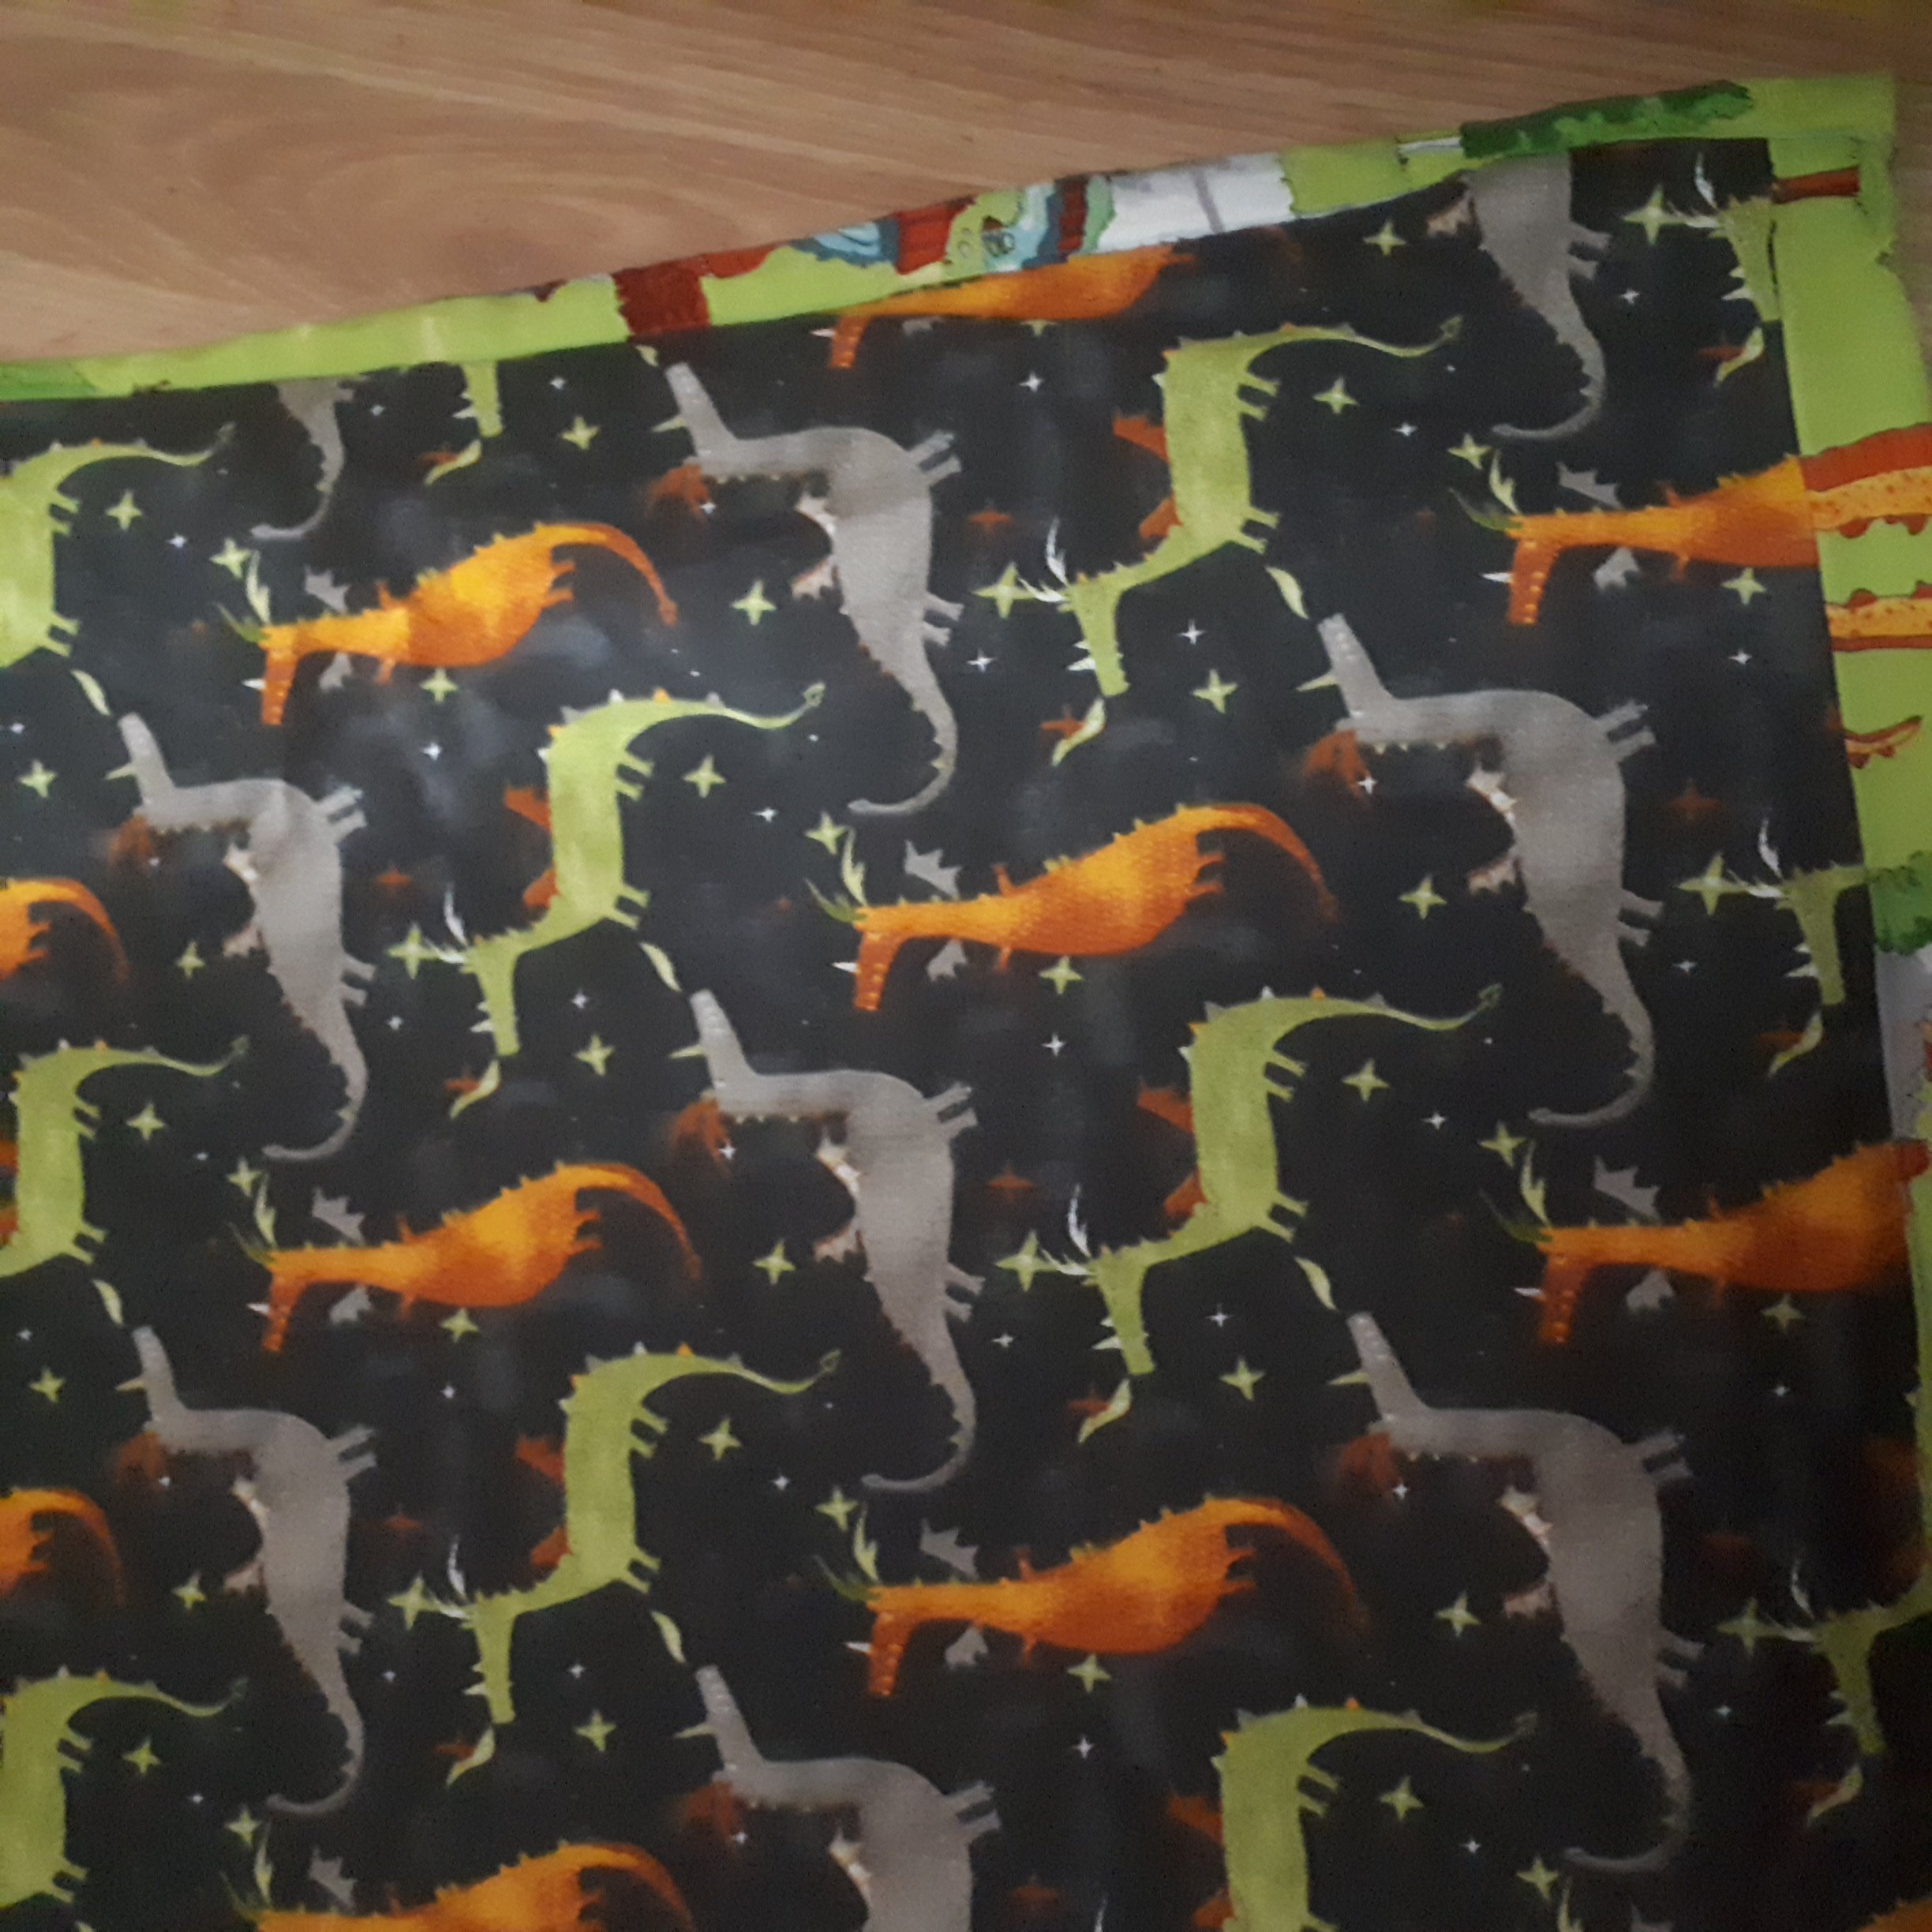
So I did what anyone thinks is a good idea, and I decided to sew my own. I looked up fun children’s fabrics that told a story and decided I liked one at fabric.com that was quite playful. To make it reversible, I bought two fabrics!
The two fabrics were delivered the other day and I was impressed with how nice they were
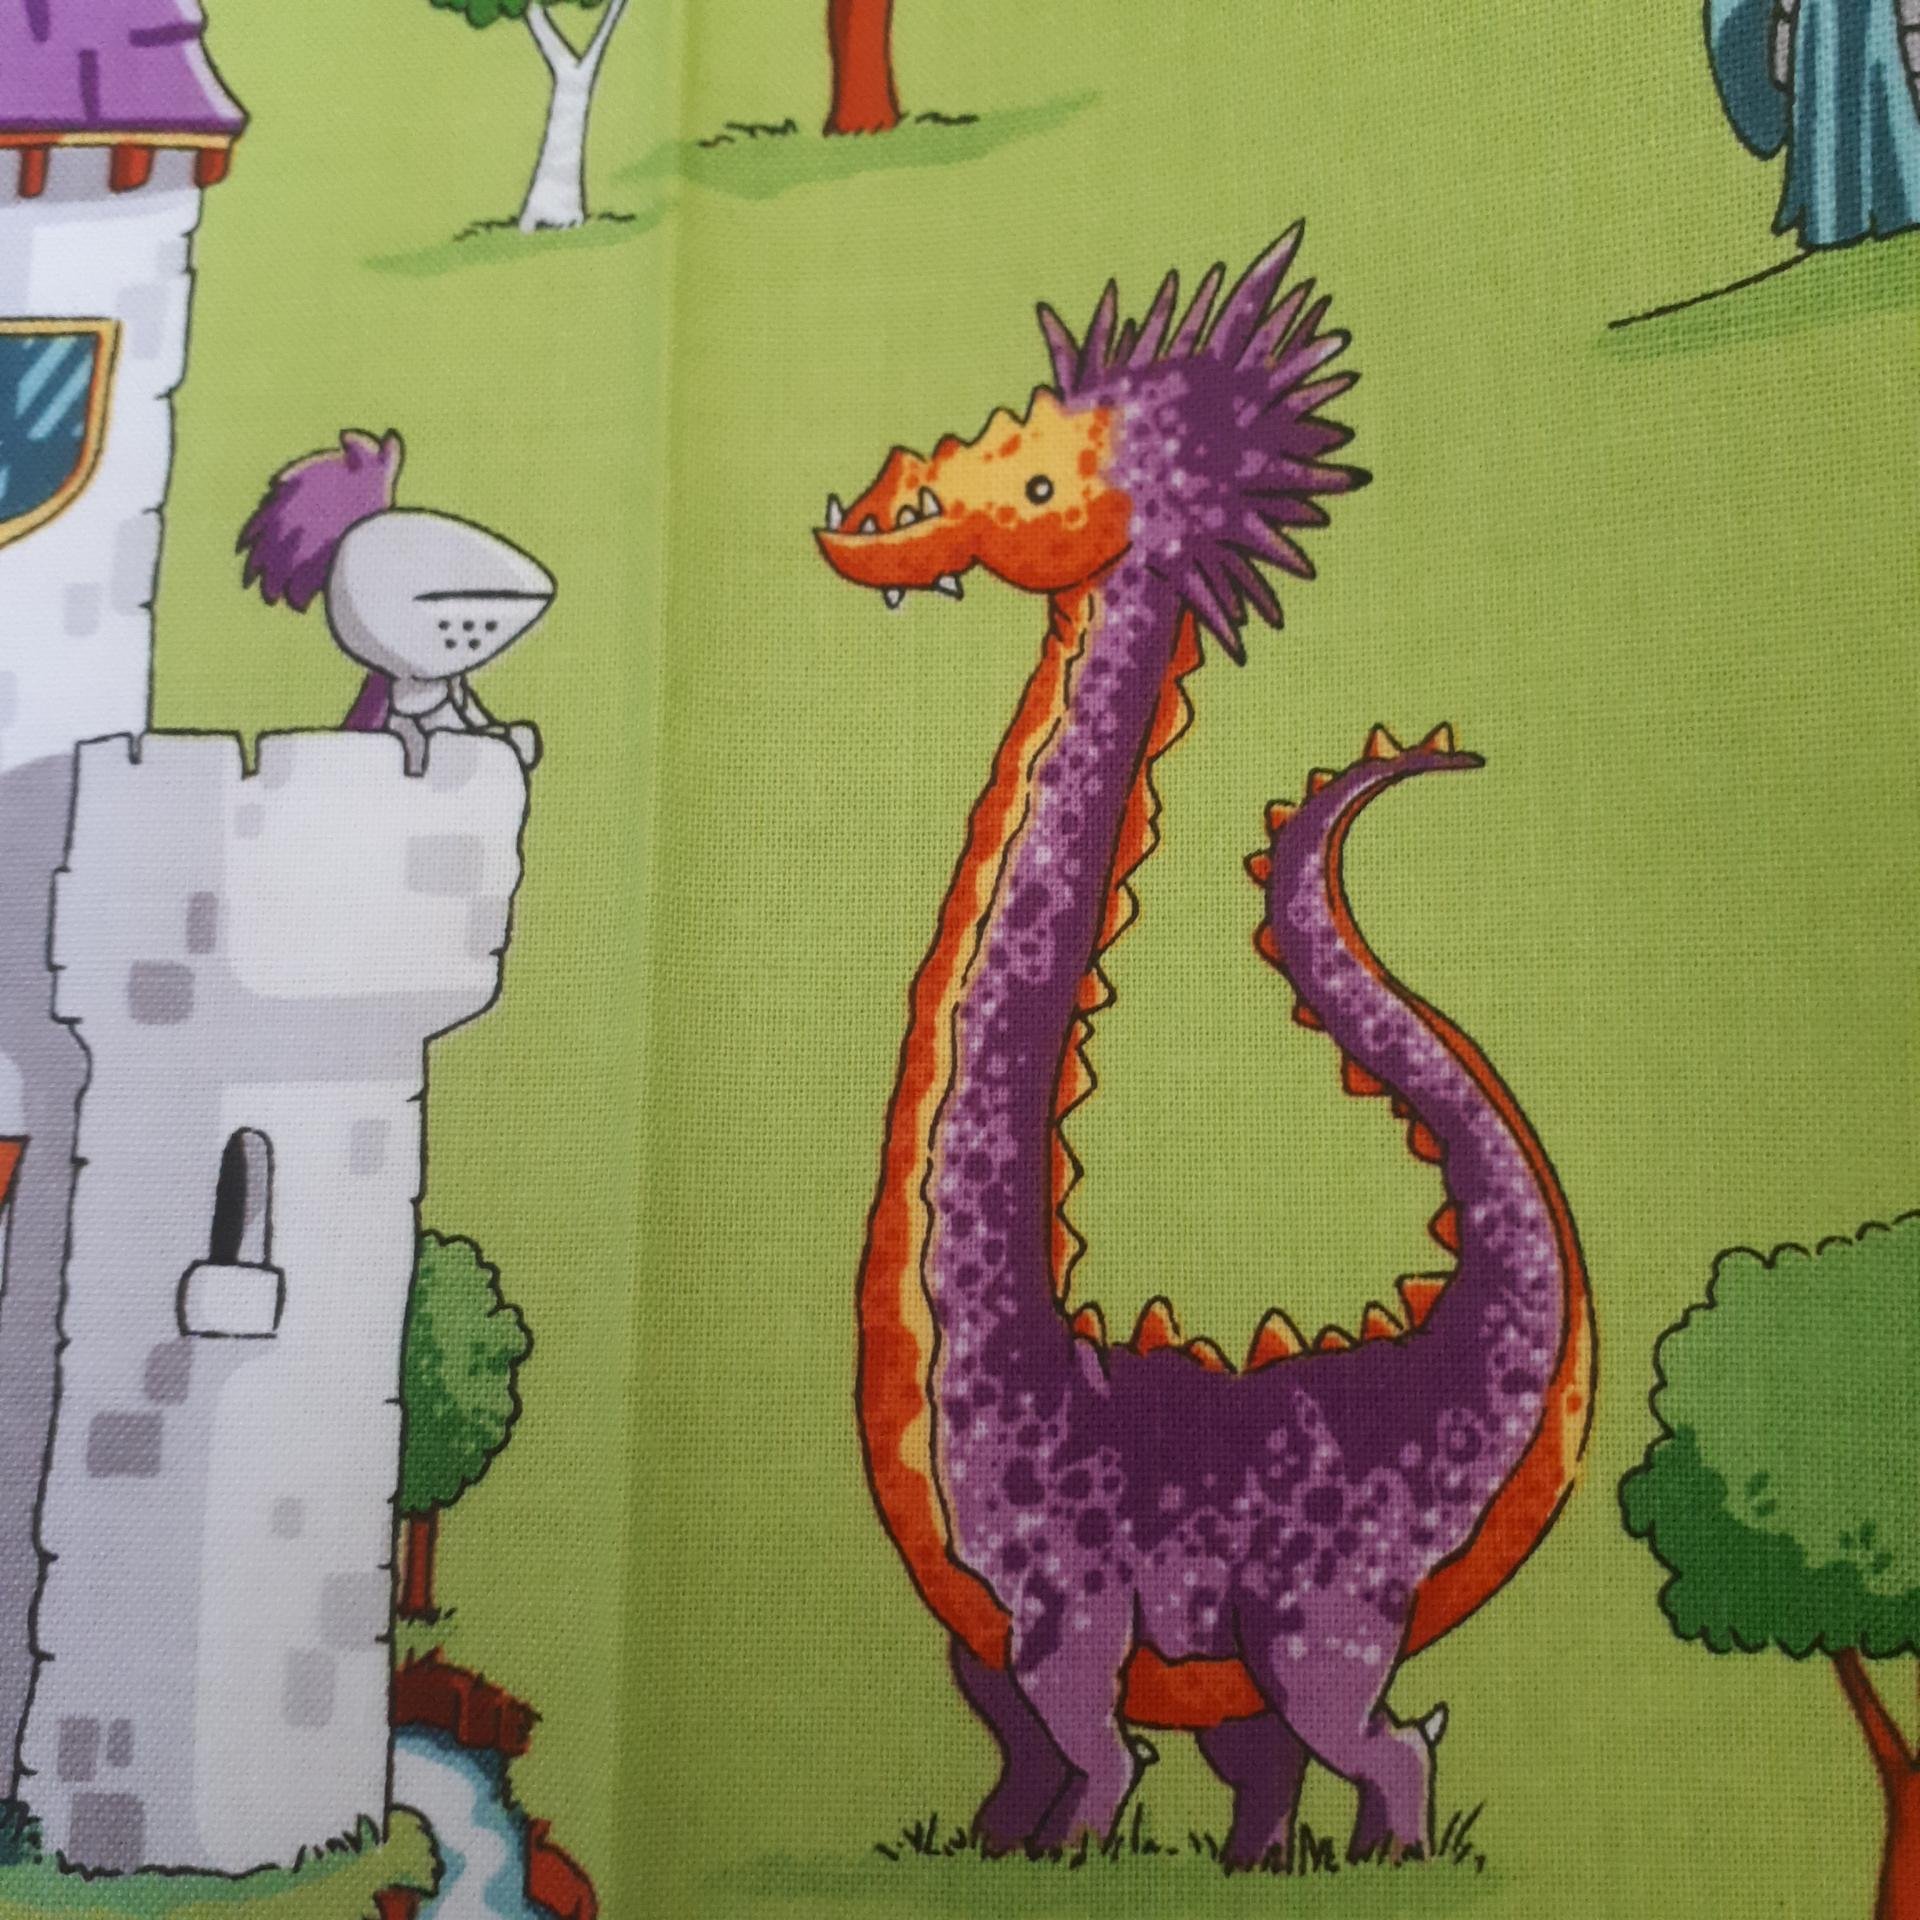
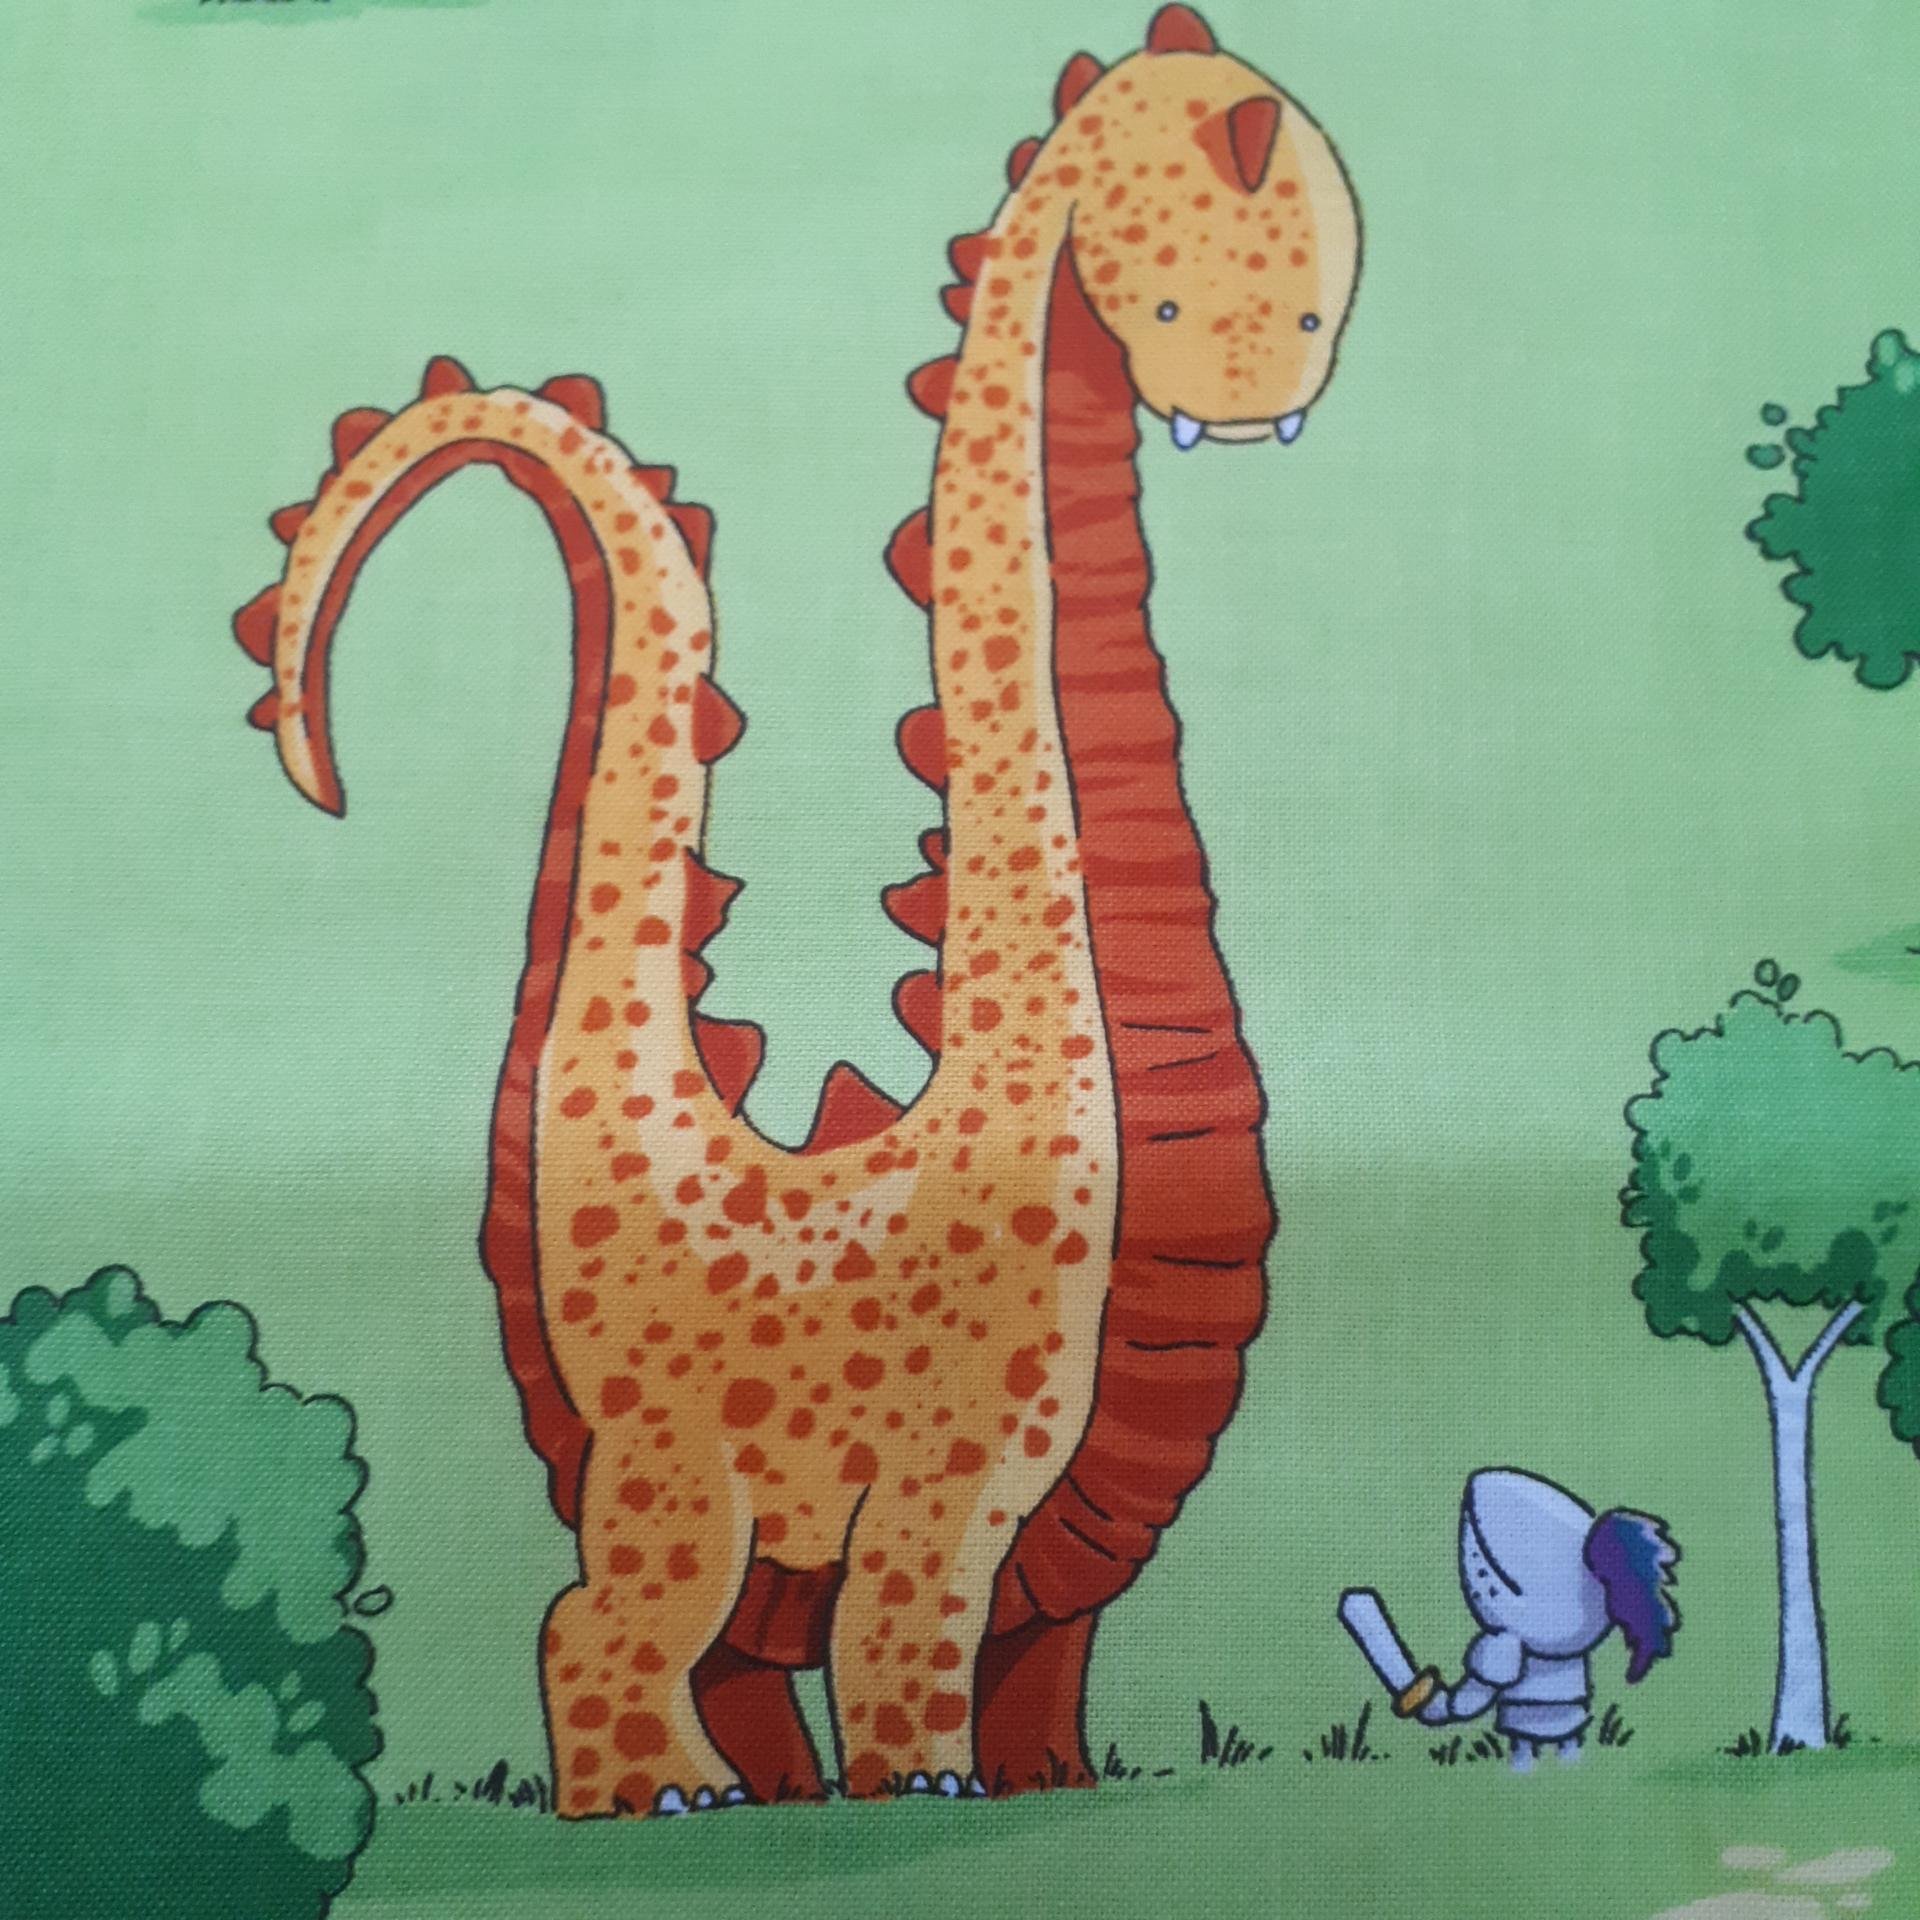
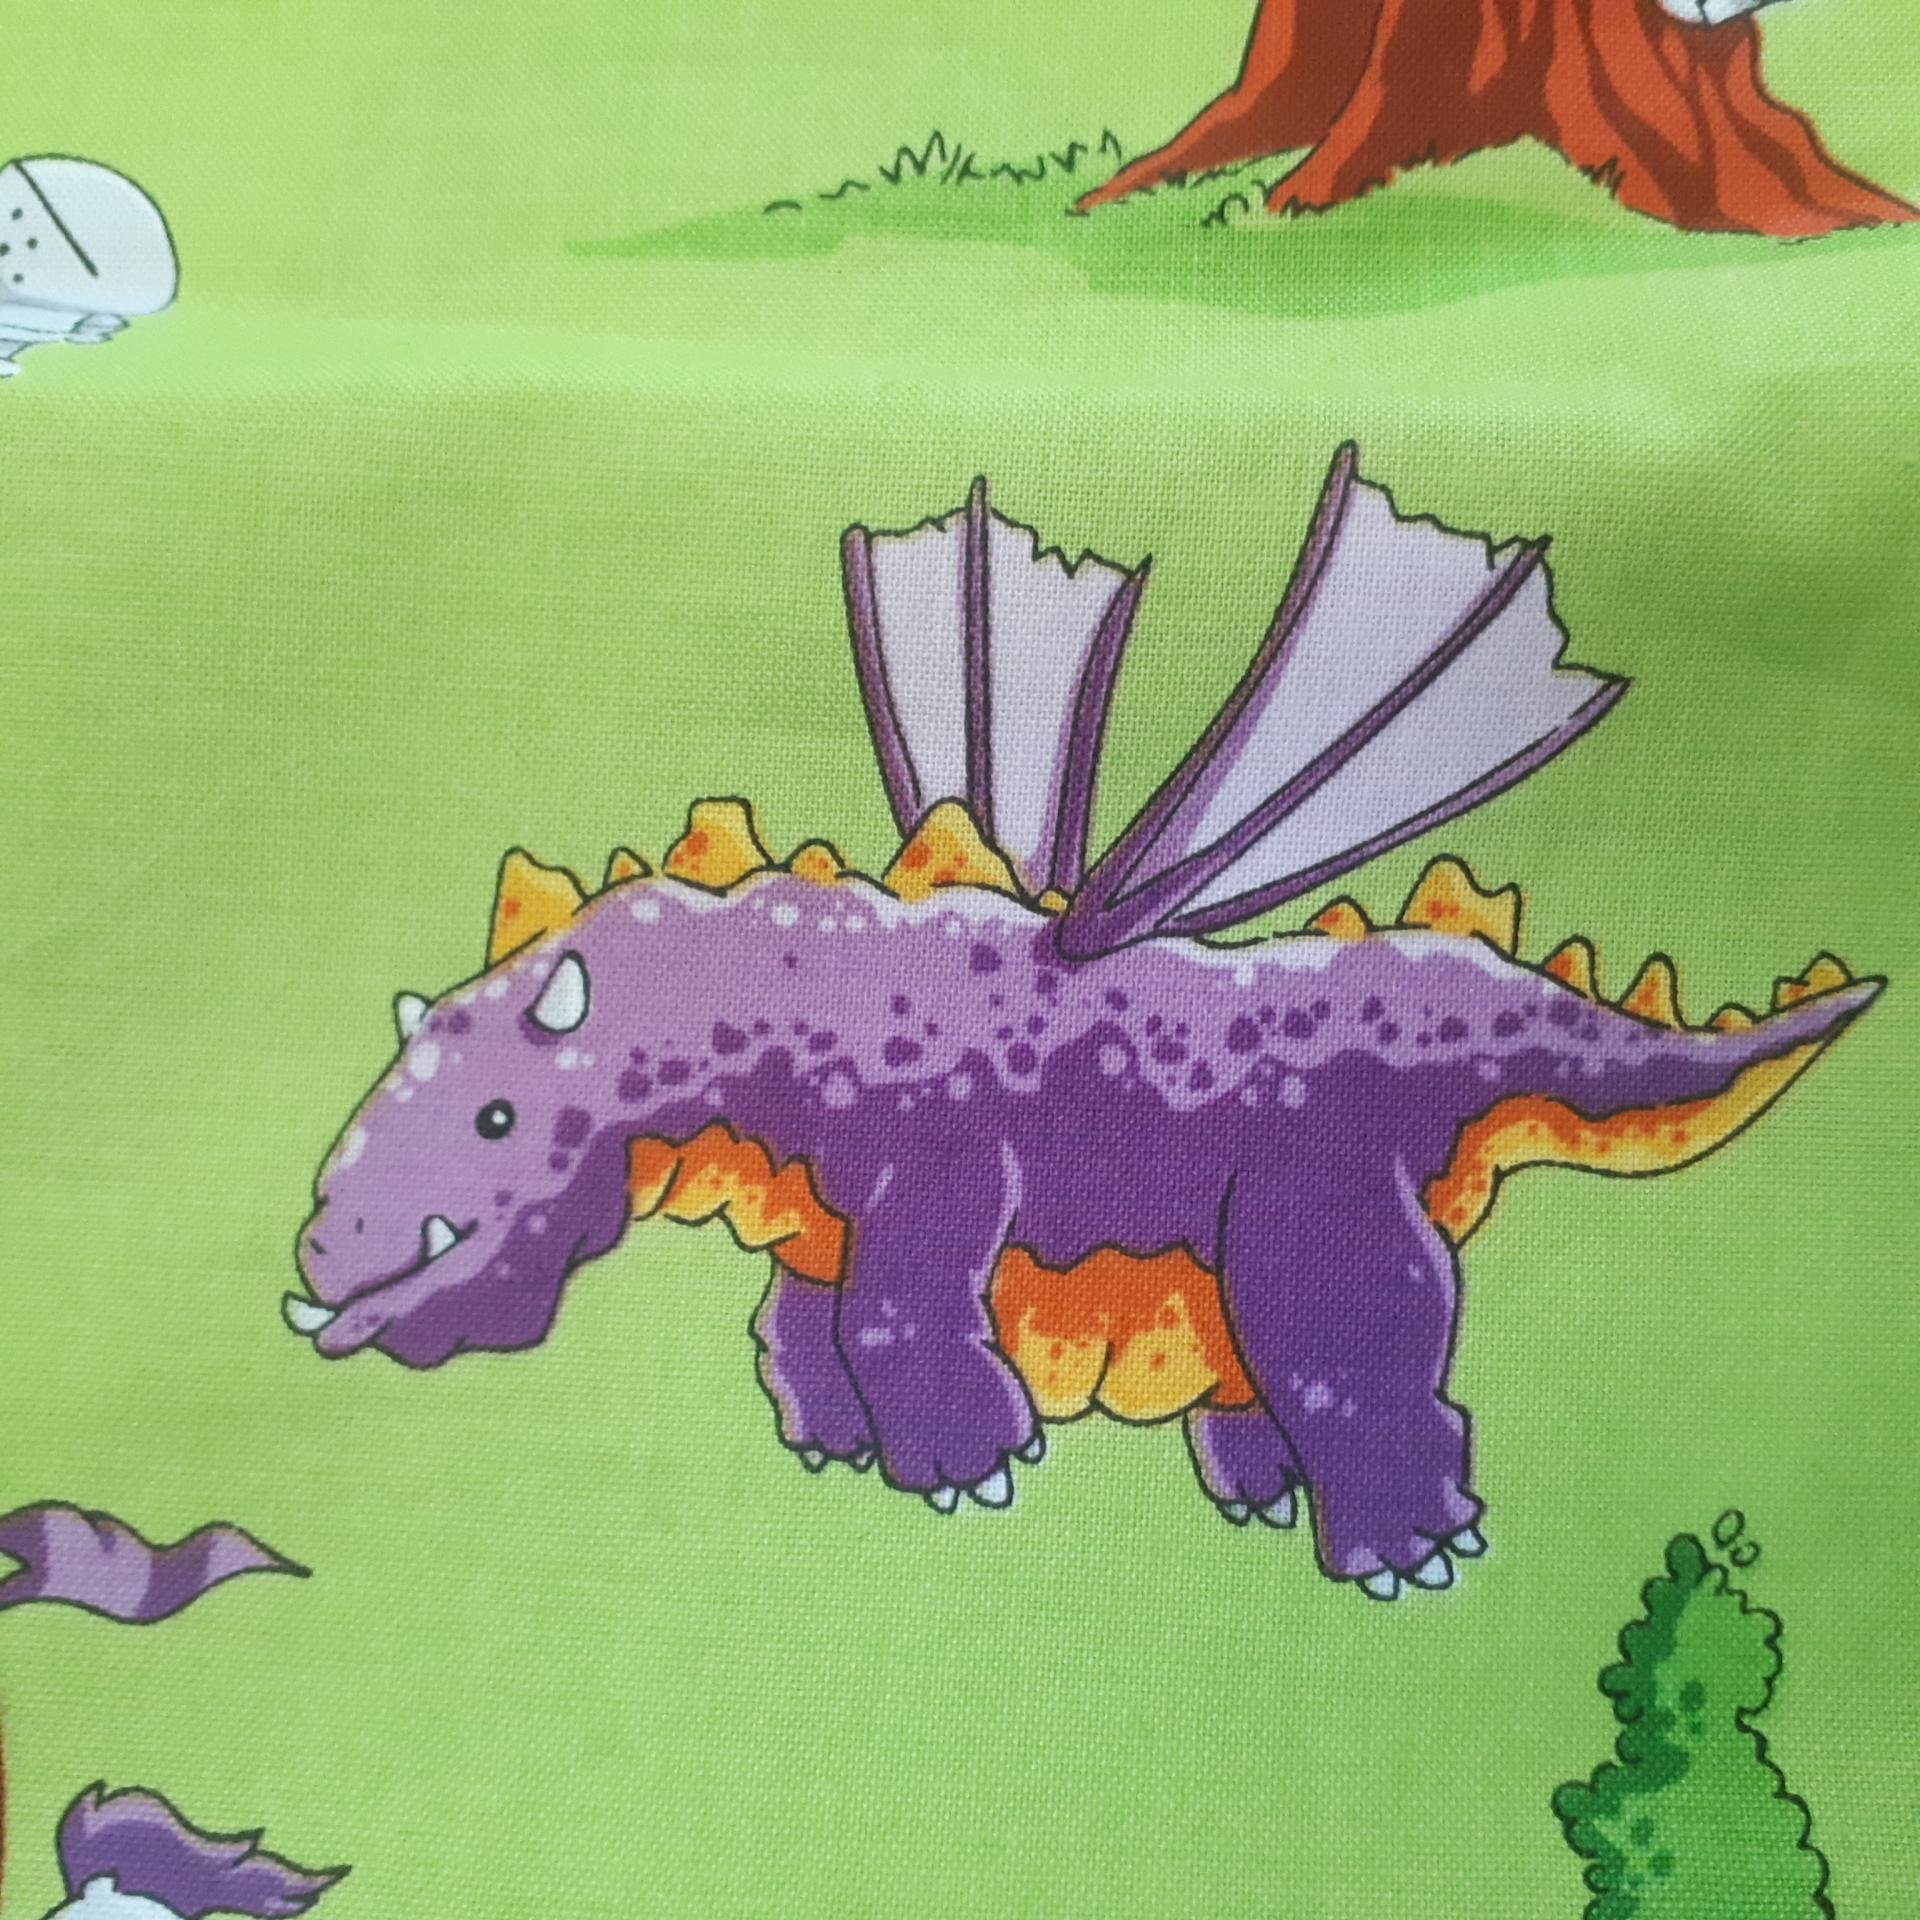
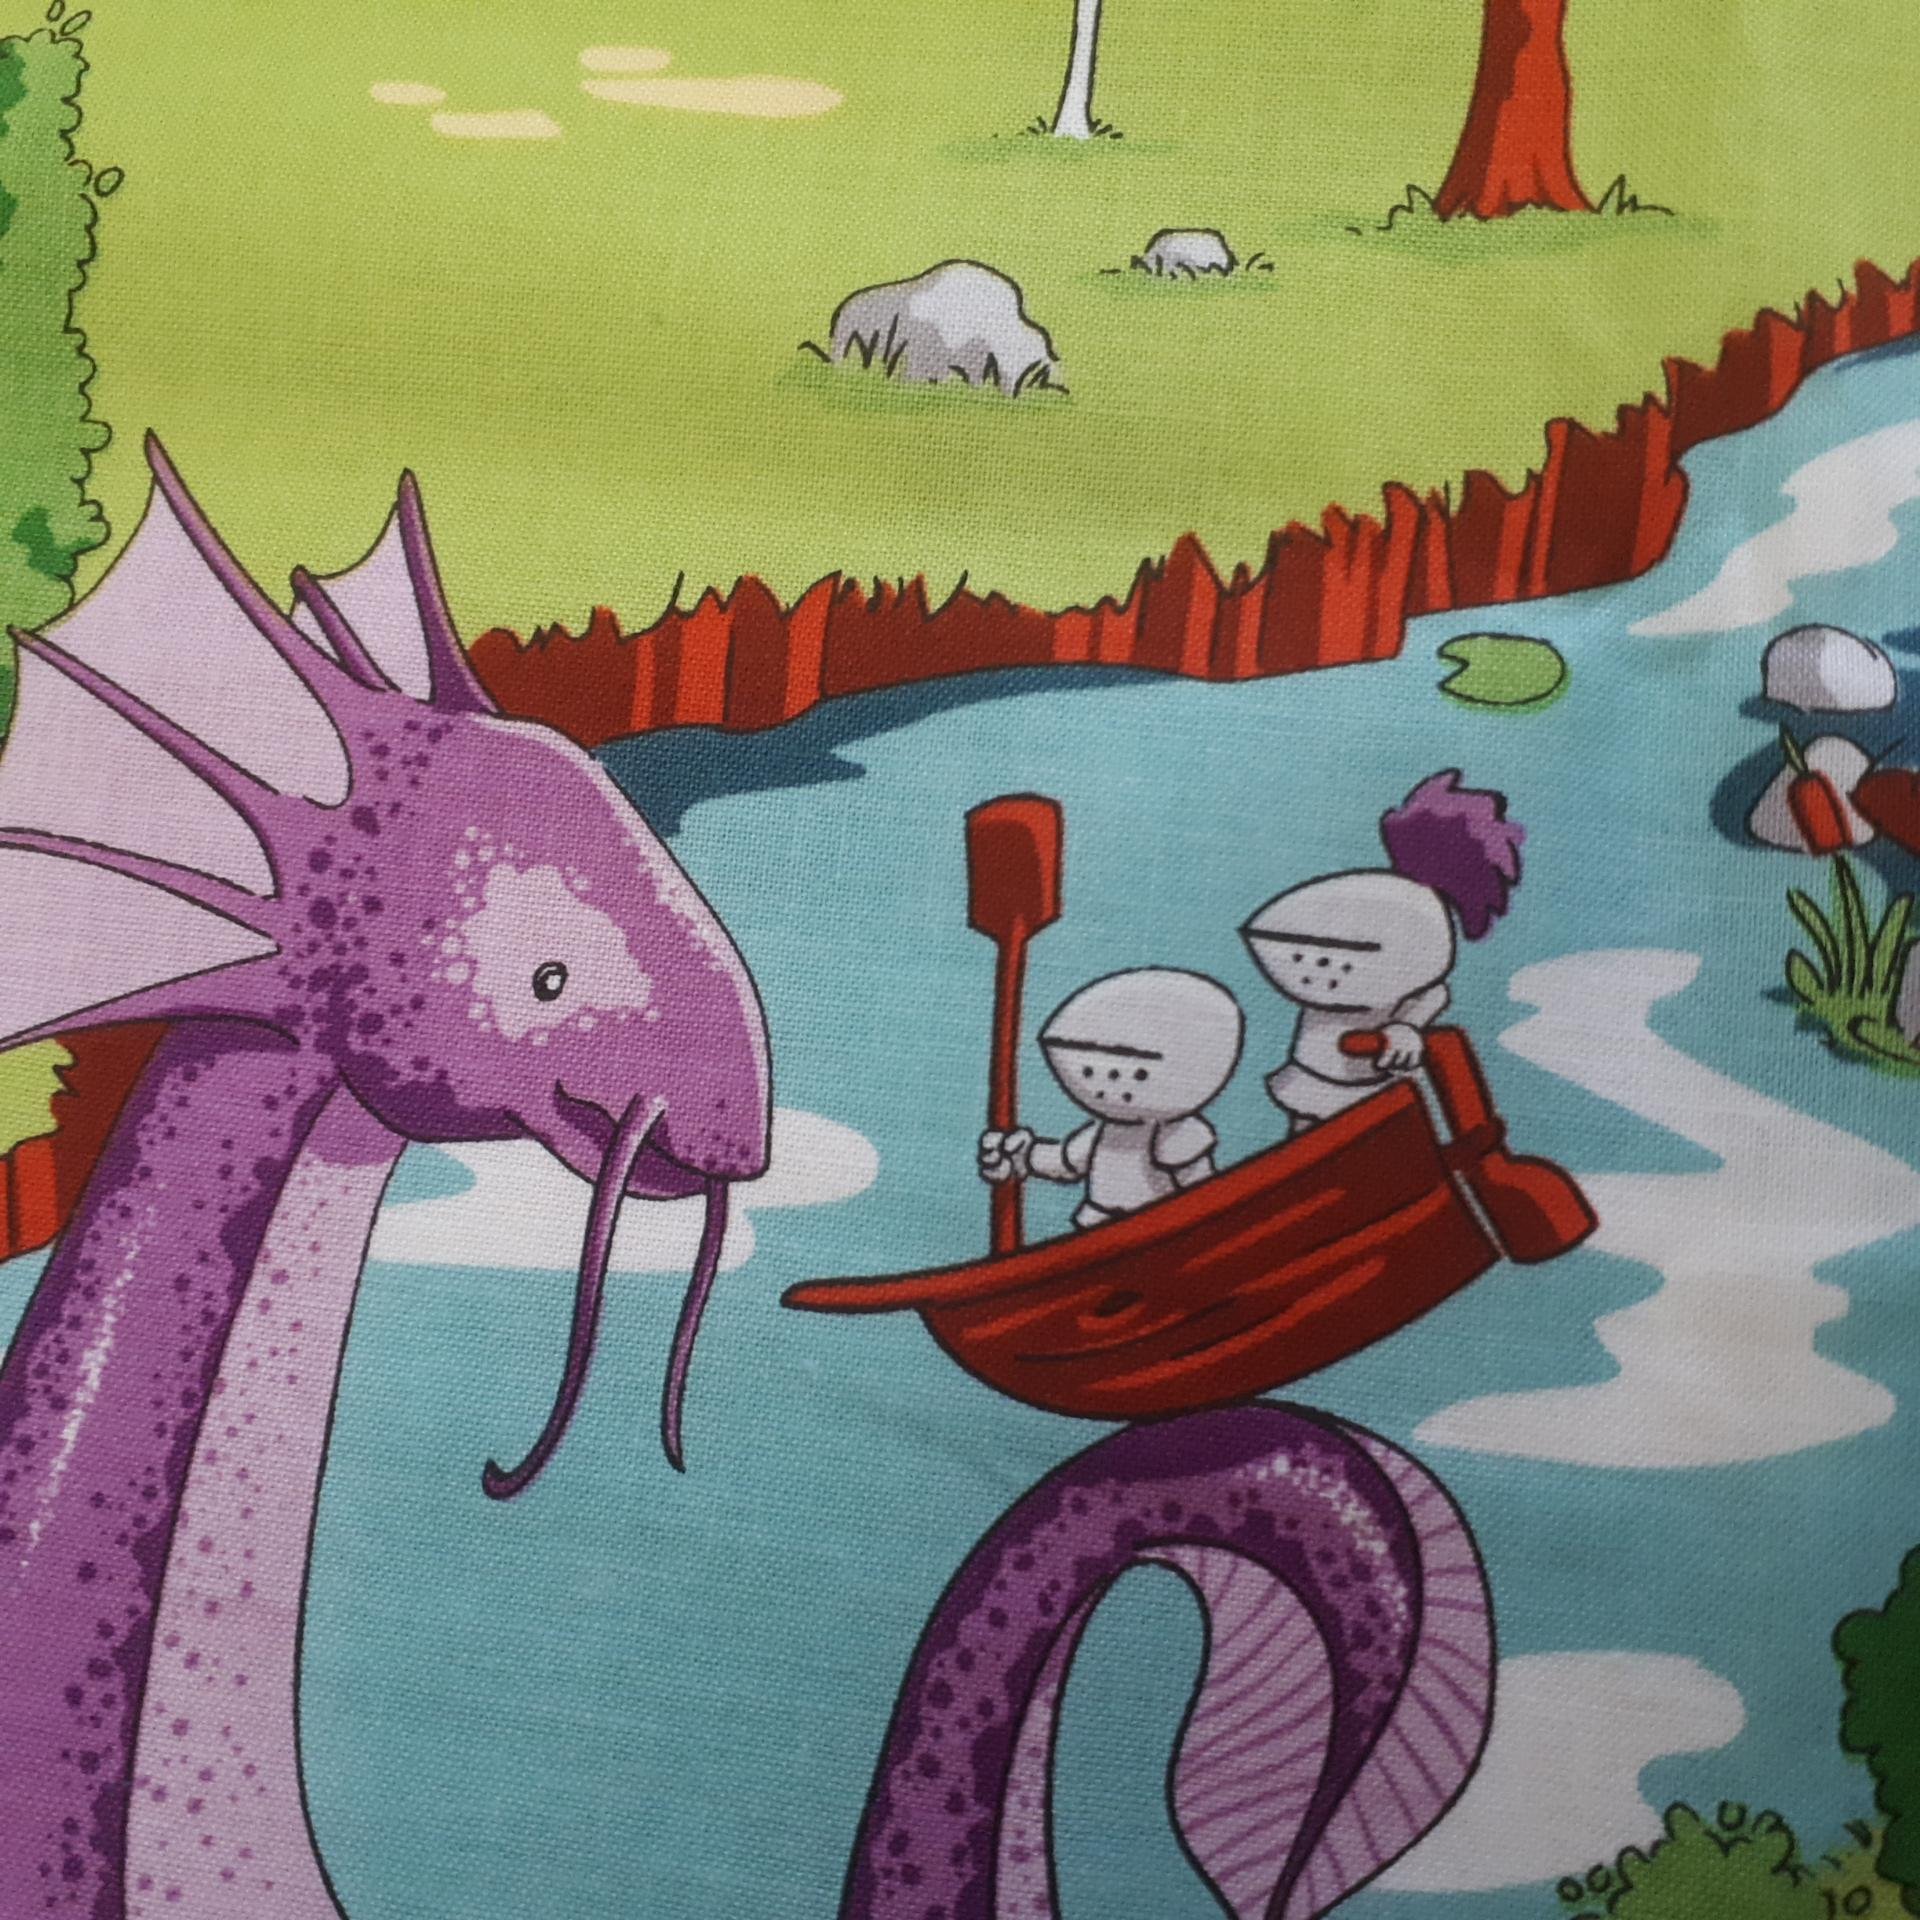
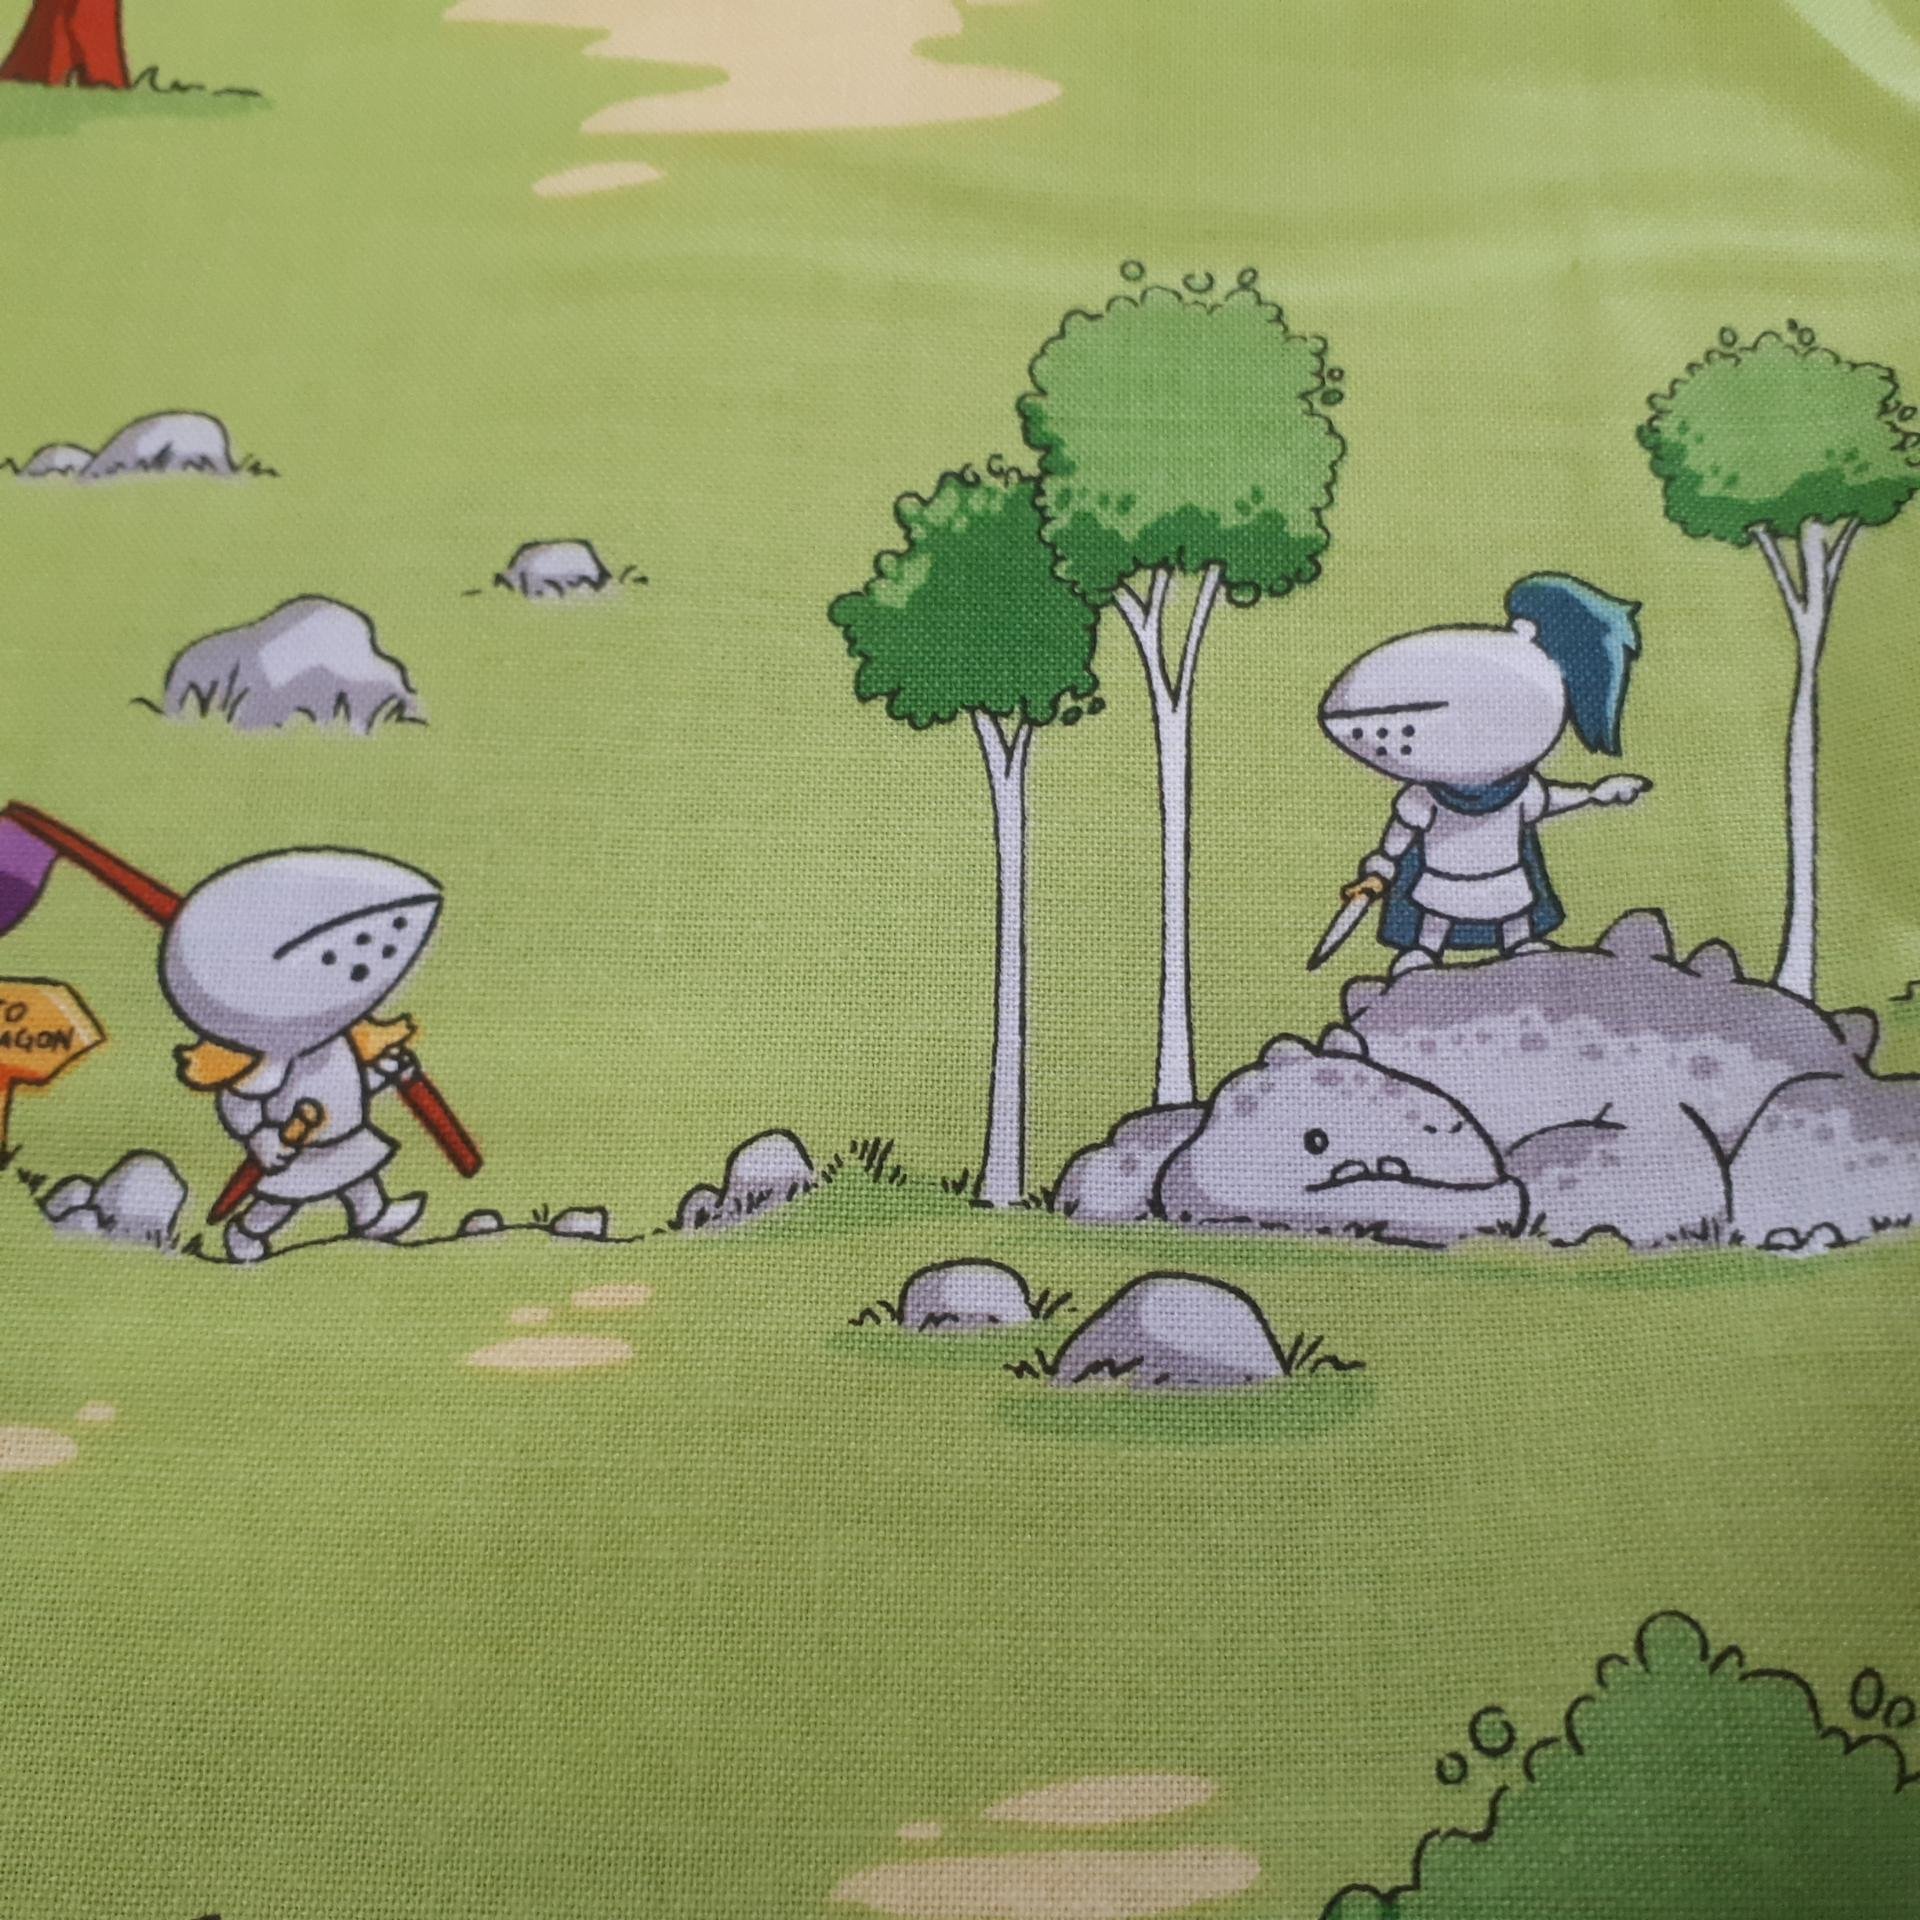
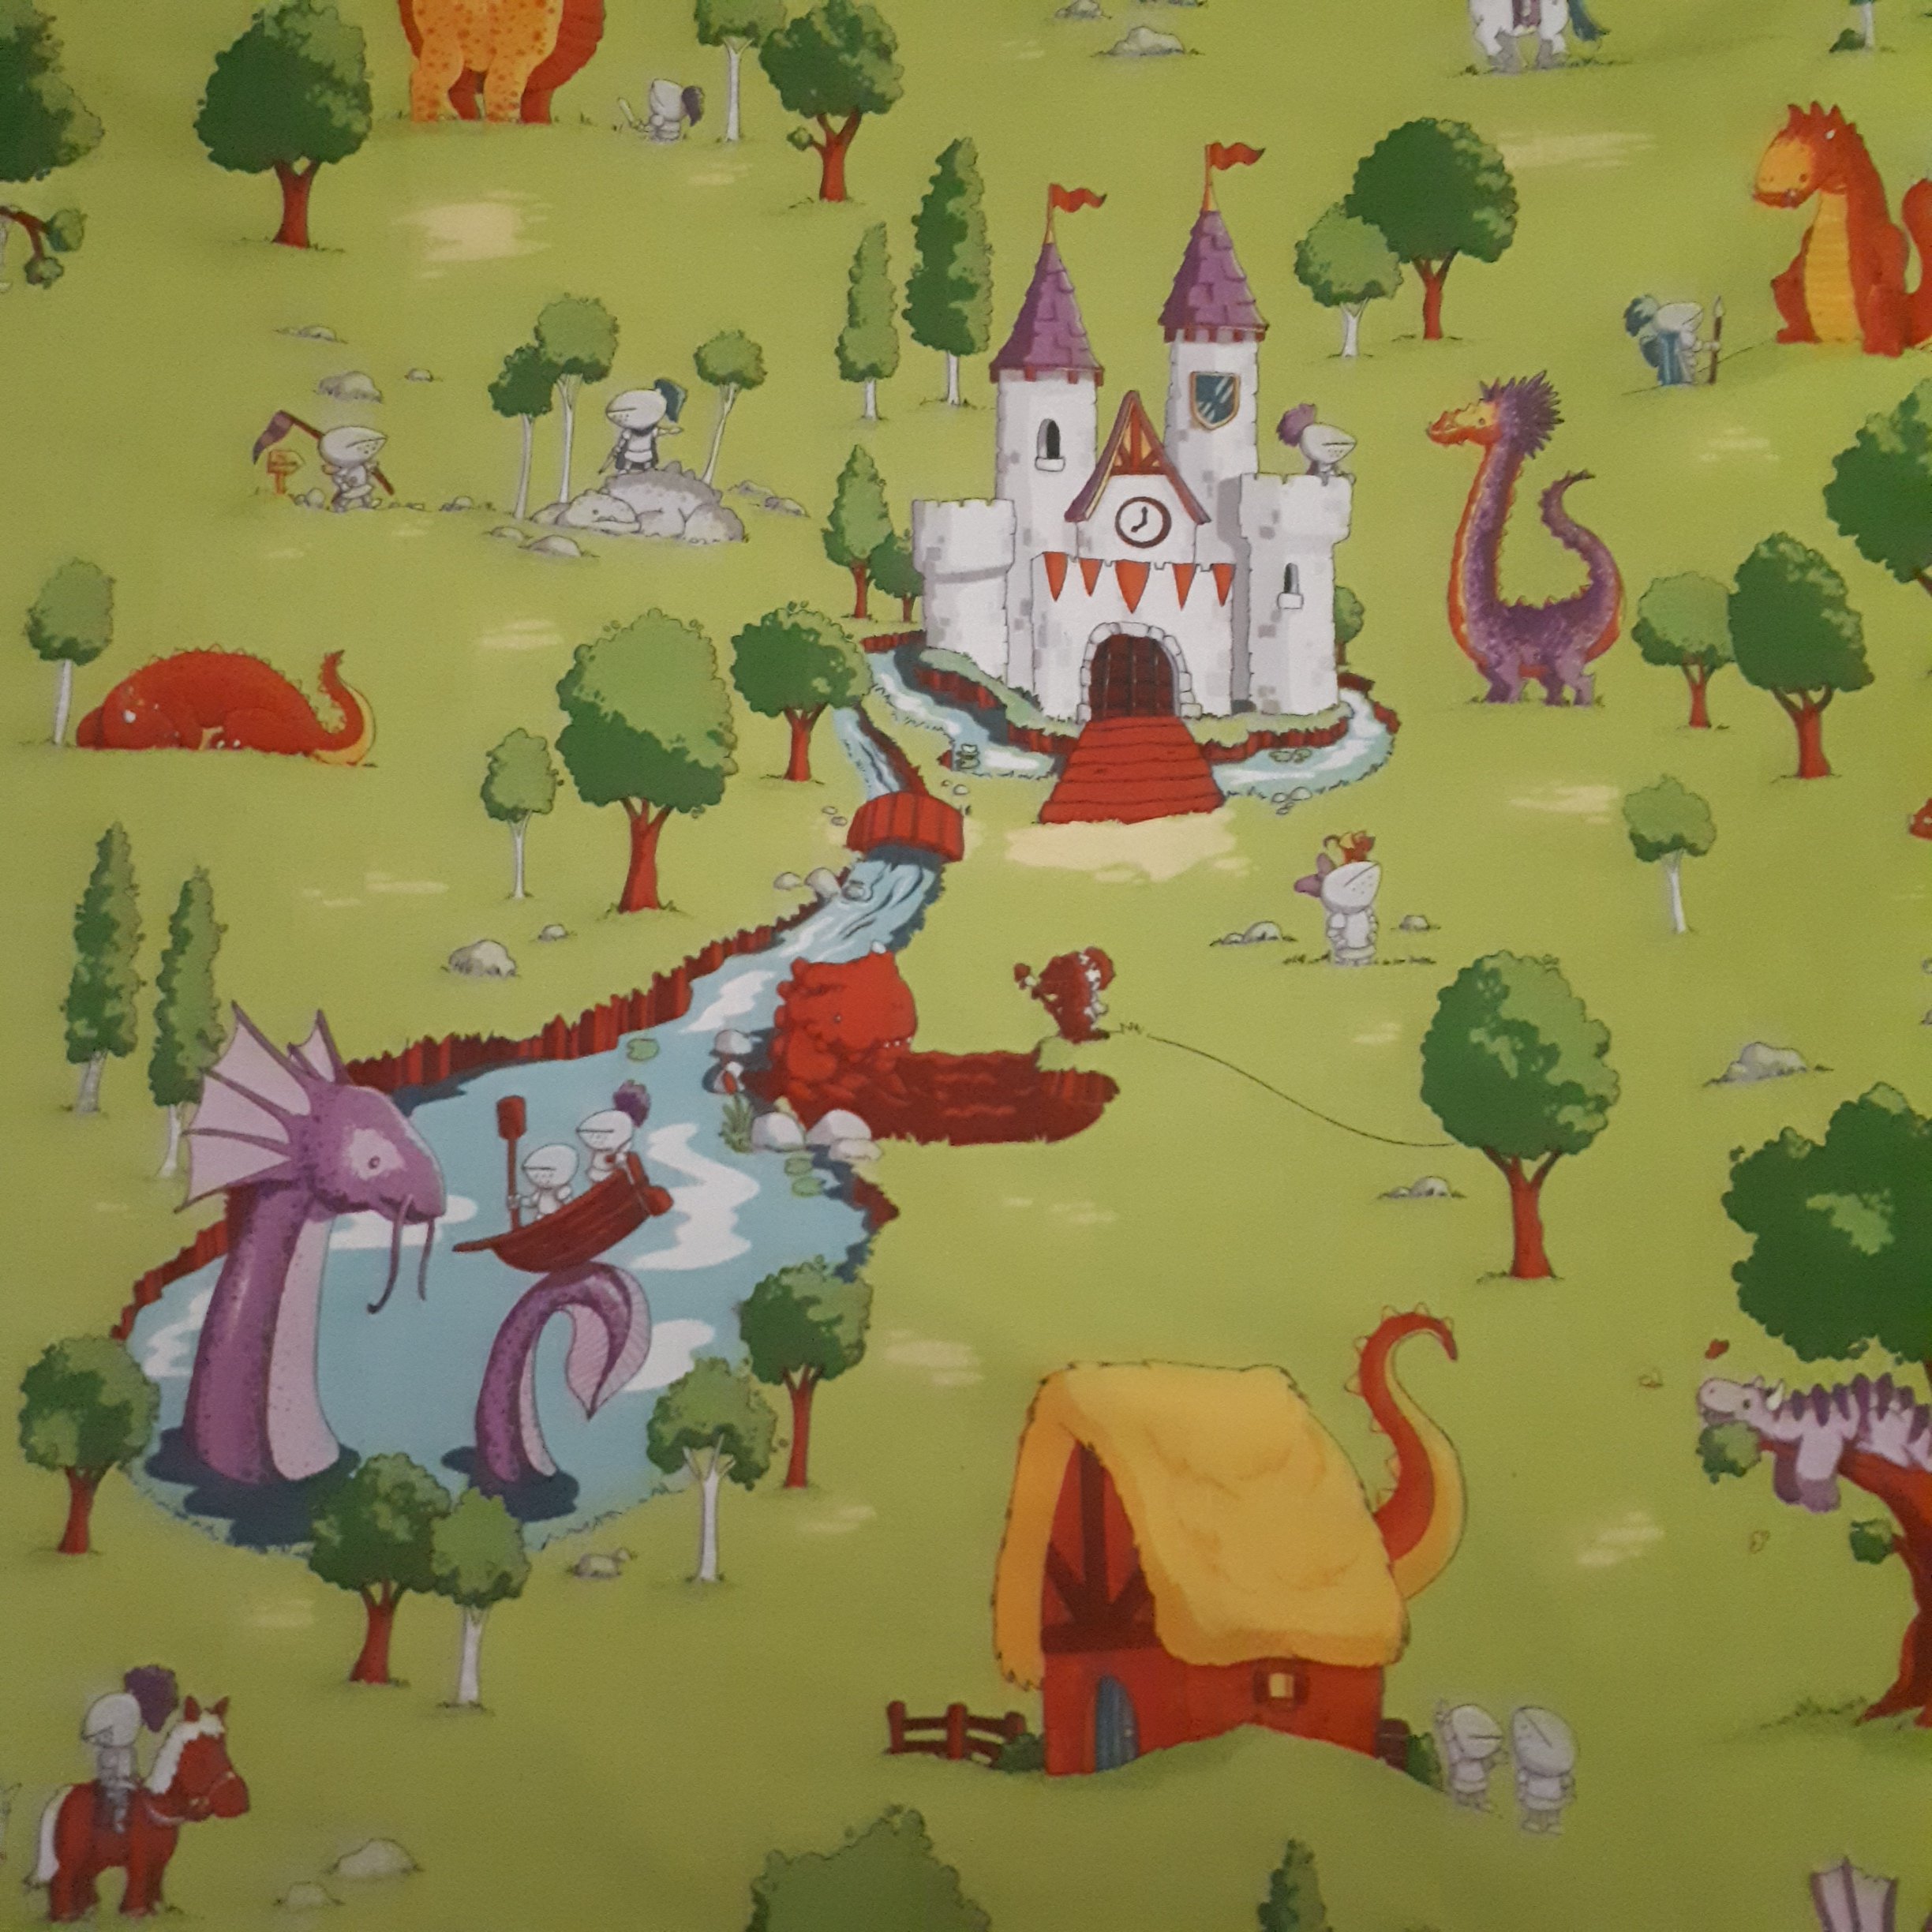
I have to say, these were so impressive that I wanted to start right away. I was particularly impressed with the scenes in the second fabric I bought. From the website I knew I’d like it but I didn’t know just how much until I could see the images up close.
I got some advice from my mother-in-law and from YouTube videos and decided I was ready. I collected a few more things around the house that I thought would add some dimension to the playmat and I got to cutting a square.
I had some old blankets that were too thin and small to use as blankets, but would be a great replacement for batting that made the playmat just a bit softer than fabric by itself. I also grabbed an old plastic tablecloth that could make the playmat spill proof and added a bit more structure to the finished product. I lay them down in the following order:
- fabric right side down
- old blanket
- plastic tablecloth
- old blanket
I cut these pieces before adding the final piece of fabric (right side up) on top. I cut the final fabric about 2 inches on all sides than the other pieces so I could fold it over the other fabrics and then fold the rough edge in. This way the rough edges of all the fabrics would be tucked away without having to buy bias tape. I pinned everything in place (in fact, everything was pinned from as early as I could do to keep it all straight).
I sewed the bottom and top edges of the fabrics together before the two side peices. I made sure to sew close enough to the edge of the top fabric flipped over as I could without being so close that the fabric wasn’t secure. Since the fabric was sewed all the way through about an inch from the edge, it creates a bit of an edging look as if there’s a rope of fabric sewed around the edge, which I like (in fact it was a goal). The corners as well have a cross of thread that I like the look of.
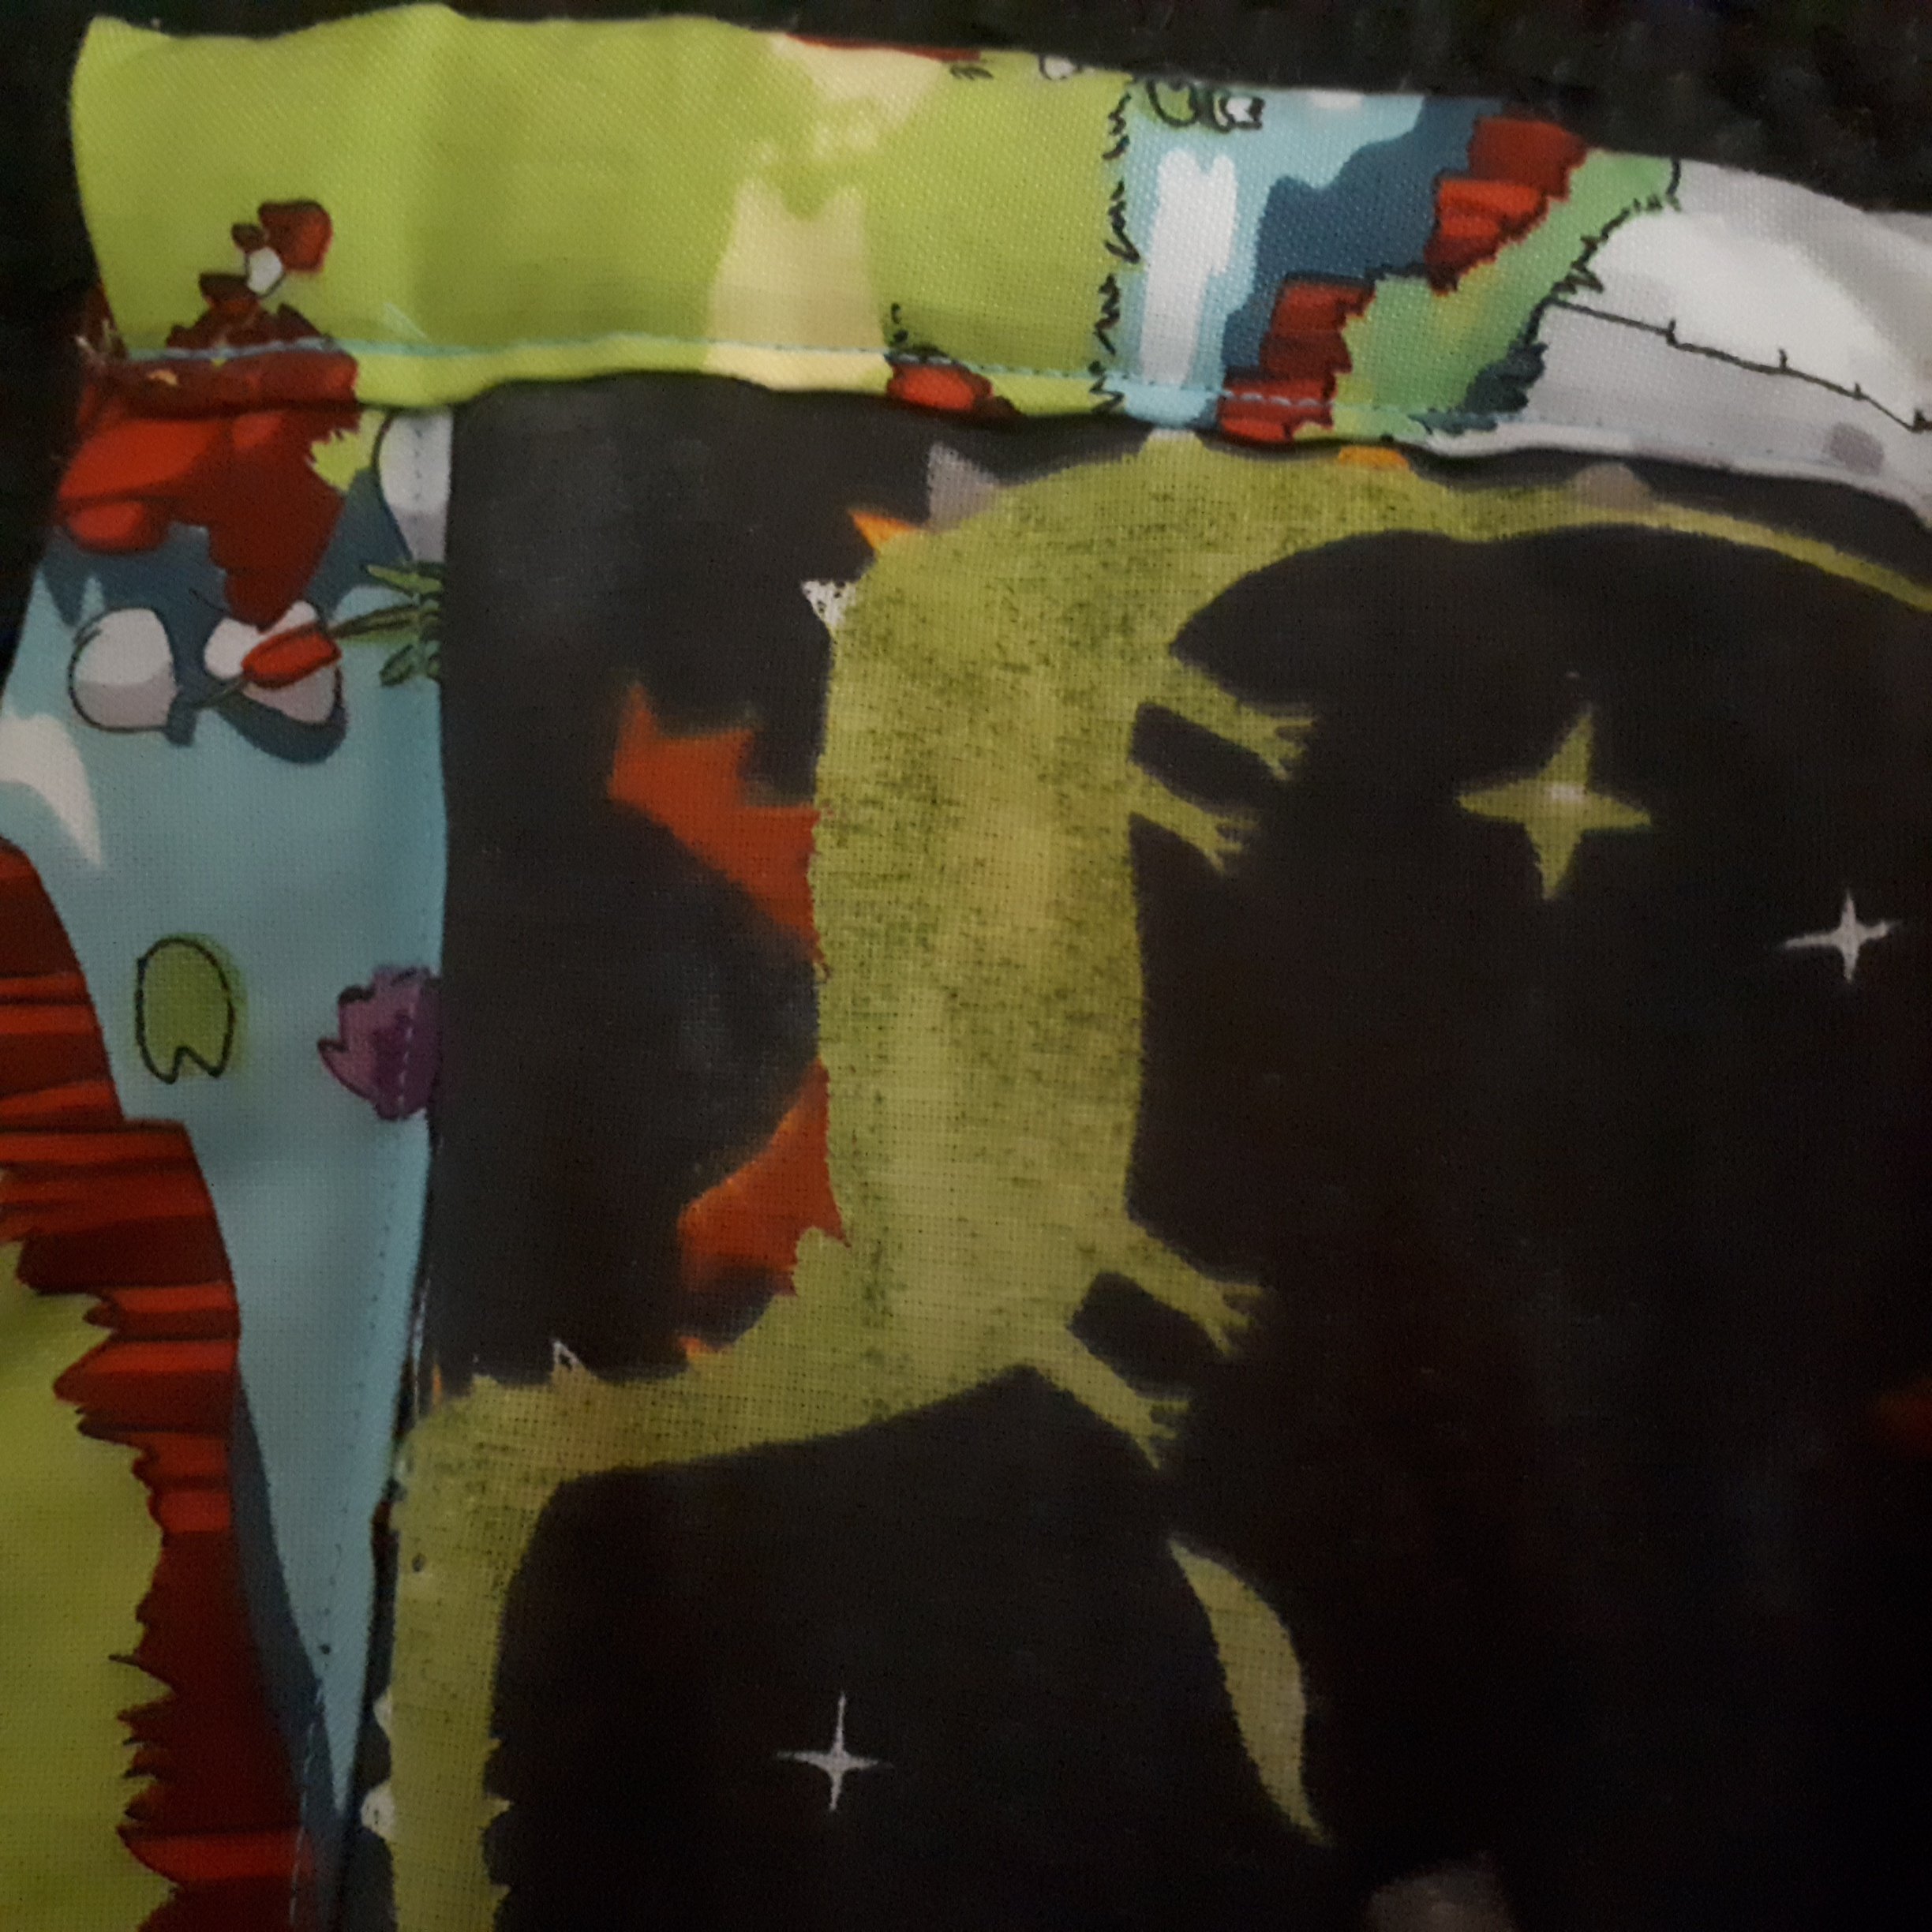
After sewing the four lengths, the playmat was completed! These are what the two sides look like.

Some things I learned in this process..
- Make sure to hold both sides of the fabrics as you sew through them since it’s so thick it’ll get stuck in your sewing machine otherwise
- Pins are hugely important in sewing this many fabrics together since it makes sure the edges stay aligned
- I was limited by how big the old blankets I had were for the max size the playmat could be. I think batting would be better in the future so I can make a bigger playmat
- This project was incredibly simple and easy and took me only about an hour or two from start to finish. I was surprised at how straightforward it was.
I really liked this project and will definitely be making more playmats in the future (hopefully when I can get out because right now sars-cov2 is in full swing).


One Comment
Judy McMullan
Wow! It looks great. You are a speedy sewist!